1
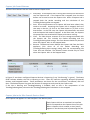
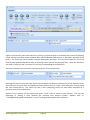
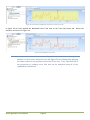
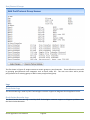
And in Figure 21 we show two trace clips that have
associated Trending/Indexing data.
In the next sections we will show how to create trace
clips.
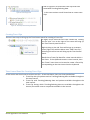
Figure 20: Trace Clip for JLB
Figure 21: Trace Clips with Trending and Indexes
Creating Trace Clips
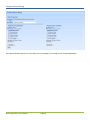
There are two ways to bring up the Time Control panel for creating a Trace Clip.
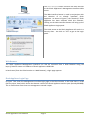
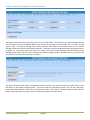
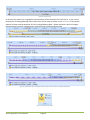
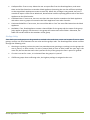
In Figure 22 we show the Job Trace named JLB. Clicking
Figure 22: Creating a Trace Clip
on the “plus” icon to the right of the name will bring up
the Time Control panel shown in
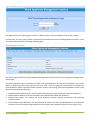
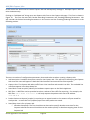
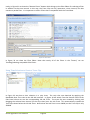
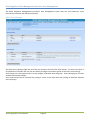
Right clicking on the Job Trace will brings up a context
menu (Figure 23) with the Menu Item “Add Trace Clip.”
Selecting this menu item will bring up the Time Control
Panel.
Figure 23: Add a Trace Clip
Recall that a Trace Clip identifies a time interval within a
Job Trace. If the clipboard contains a time interval, then
the “Paste” menu item can be used to create a Trace Clip
corresponding to the time interval on the clipboard.
Time Control Panel for Creating Trace Clips
In this section we show how to create trace clips. As we saw above, there are three possibilities:
1. Trace Clip with just packets and no Trending/Indexing data available throughout
the time interval
2. Trace Clip with Trending/Indexing data and packets available throughout the
time interval
3. Trace Clip during which Trending/Indexing data are available throughout the
interval, but either some or no packets available in the interval
Shark Appliance User Manual
Page 21