1
VEMCO – A Division of AMIRIX Systems
2 QUICK START GUIDE
2.1 SET UP EQUIPMENT
Use this list the first time the VMT_PC software is being used on a PC. Detailed instructions for each step
are given throughout the manual (sections numbers are listed in brackets).
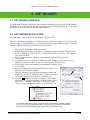
Step 1: Connect the VMT reader to the PC (see section 4.2).
Step 2: Record the virtual COM port number (see section 4.2).
Step 3: Install the VMT_PC software on the PC (see section 5.2).
Step 4: Assign a data directory location in the software (see section 5.4.1.1).
Step 5: Identify the virtual COM port in the software (see section 5.4.2.1).
Step 6: Ensure that your PC is set to precisely to the correct local time before initiating
communication with the VMT.
2.2 SET UP VMT FOR DEPLOYMENT
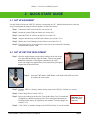
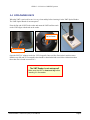
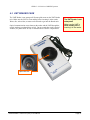
Step 1: Place the supplied magnet on the white rectangle on the side of the
case and watch the indicator light for flashes. Remove the magnet
before the tenth flash. If the magnet is attached to the VMT,
remove the magnet for approximately 20 seconds before placing the
magnet back on the white mark.
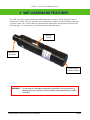
Step 2: Insert the VMT into the VMT Reader so the notch in the VMT case lines
up with the tab in the reader.
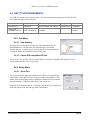
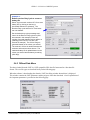
Step 3: Open the VMT User Settings window (Setup menu) in the VMT_PC software (see section
5.4.2.2).
Step 4: Enter a Study ID (see section 5.4.2.2).
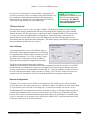
Step 5: Review the settings for the Rec On Time, the Rec Duty Cycle, Transmission
Configuration, and the Tag output power. These settings should already be
configured at the factory as requested by the customer. To make changes see
section 5.4.2.2.
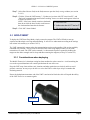
CAUTION: These
values can affect
battery life.
Step 6: Click “Write” to send the settings to the VMT and “Done” to exit the window.
VEMCO Mobile Transceiver (VMT) User Manual
Page 2