1
VEMCO – A Division of AMIRIX Systems
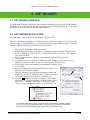
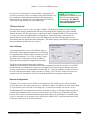
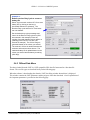
Step 7: Select Start/Resume Study in the Study menu to open the Study settings window (see section
5.4.4.1).
Step 8: Click the “Erase the VMT memory”, “Update receiver time with UTC time from PC”, and
“End serial communications and resume recording” boxes so a check mark appears in the box
as shown in section 5.4.4.1.
NOTE: If the boxes already contain a checkmark,
then do not click the boxes as this would remove
the checkmark and unselect the features.
Step 9: Click “OK” when finished.
2.3 DEPLOYMENT
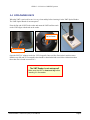
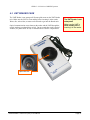
To deploy the VMT from Sleep Mode, simply remove the magnet. The VMT will flash its start up
sequence and then begin receiving and transmitting. It will receive and transmit according to the settings
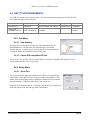
last written in its memory (see section 5.4.2.2).
The VMT automatically restarts when the communication session ends regardless if the session ended by
command or by timeout. This prevents an activated VMT from being deployed when it is not in the
transmit/receive mode. The VMT can be restarted (i.e. the transmit sequence repeated) by holding the
magnet on the white rectangle until it sleeps and then removing the magnet (see Step 1 in section 2.2).
2.3.1 Considerations when deploying
The Mobile Transceiver’s aluminum casing has been anodized to reduce corrosion. Avoid scratching the
case as the exposed aluminum will corrode quicker than the rest of the case.
Keep the VMT away from stainless steel, titanium, and other metals that are relatively noble to avoid
galvanic corrosion. An easy way to do this is to cover the VMT in a thin layer of tape or another thin
insulating material.
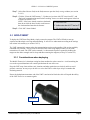
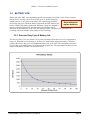
Ensure the hydrophone/transmitter end of the VMT is not buried or blocked as this will impede the ability
of the VMT to receive or transmit signals.
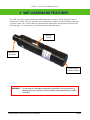
Hydrophone
VEMCO Mobile Transceiver (VMT) User Manual
Page 3