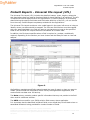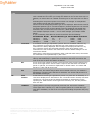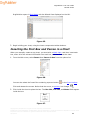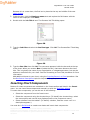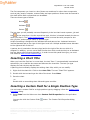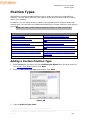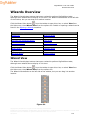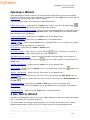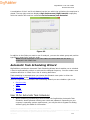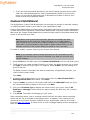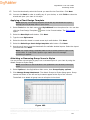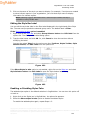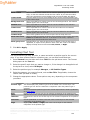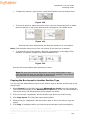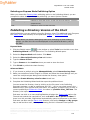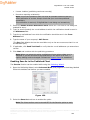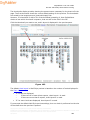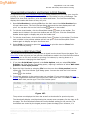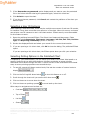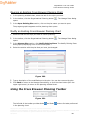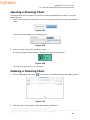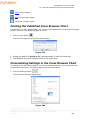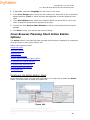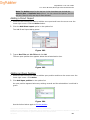
1
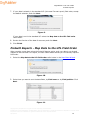
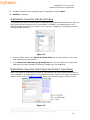
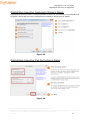
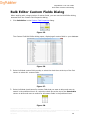
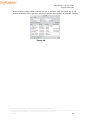
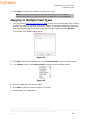
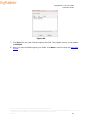
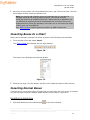
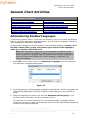
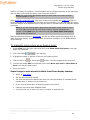
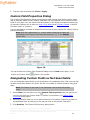
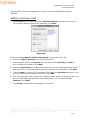
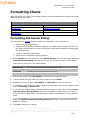
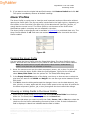
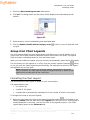
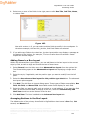
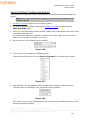
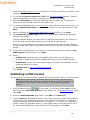
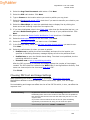
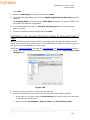
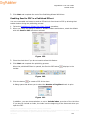
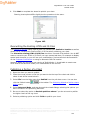
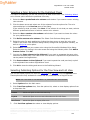
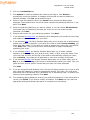
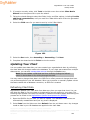
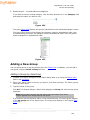
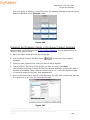
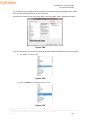
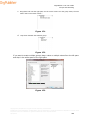
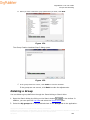
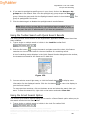
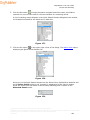
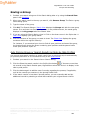
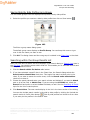
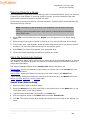
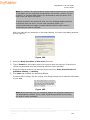
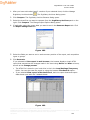
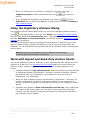
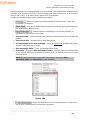
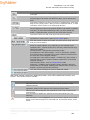
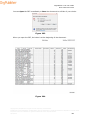
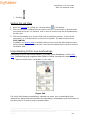
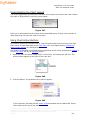
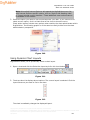
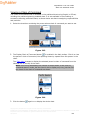
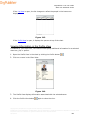
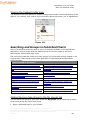
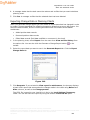
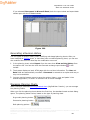
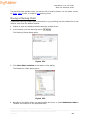
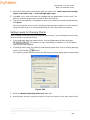
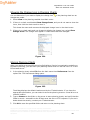
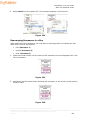
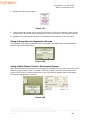
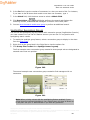
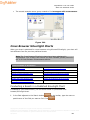
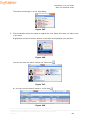
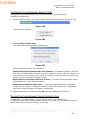
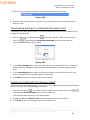
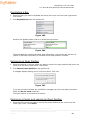
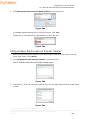
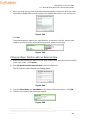
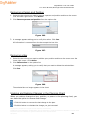
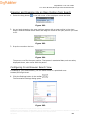
OrgPublisher 11.8 User Guide
Formatting Charts
15. From the thumbnails, select the format you want for the Chart View. Click Next.
16. You can click Back in order to modify any of your choices, or click Finish to close the
wizard and open your chart in this style.
Applying a Chart Design Template
Note: Applying a formatting template overwrites any Advanced Box Layout
settings you may already have in your chart.
1. Select Tools from the Main menu then Style Wizard from the options list. You can also
click the Chart Design Templates
opens.
button in the Format toolbar. The Style Wizard
2. Select the New Style radio button. Click Next.
3. Type the new Style name.
4. Select the Use this wizard to create a new style radio button. Click Next.
5. Select the Selecting a chart design template radio button. Click Next.
6. Use the scroll bar to view the thumbnails for available window layouts. Select the layout
you want then click Next.
Note: The Chart Design Template feature tries to match position types in the
source chart. If it can’t find a position type match then the manager
formatting is applied.
Attaching or Removing Group Icons in Styles
You can choose not to display a group icon in selected styles in your chart by using the
Attach Groups to Styles dialog.
Note: This feature is also available in the published cross browser/Silverlight
chart.
1. Select Options in the OrgPublisher Main menu, then Group display options.
2. Click Manage Group Attachment. The Attach Groups to Styles dialog opens. Group
names are shown on the left and style names appear at the top of the columns.
The default is to attach all group icons to all styles in the chart.
Figure 100.
Copyright 2015, PeopleFluent. All rights reserved. Proprietary and confidential.
PeopleFluent and the PeopleFluent and OrgPublisher logos are trademarks or registered trademarks of PeopleFluent. All other brand
and product names are trademarks or registered trademarks of their respective holders.
08/12/2015
141