1
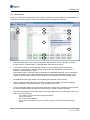
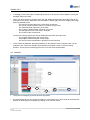
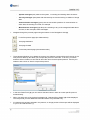
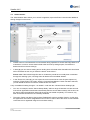
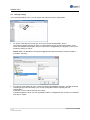
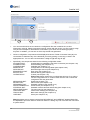
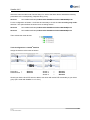
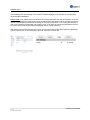
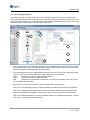
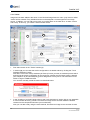
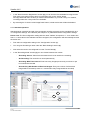
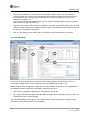
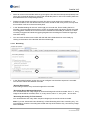
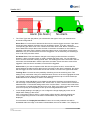
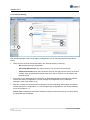
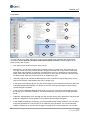
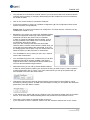
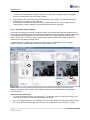
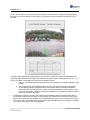
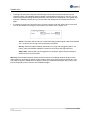
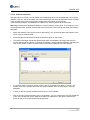
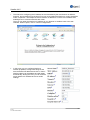
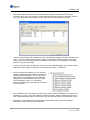
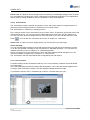
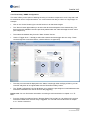
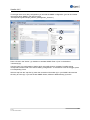
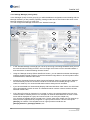
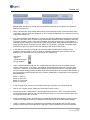
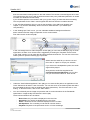
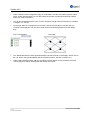
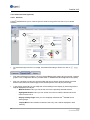
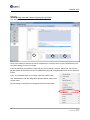
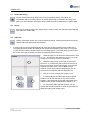
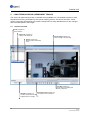
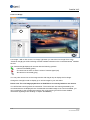
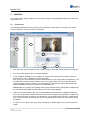
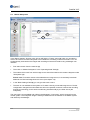
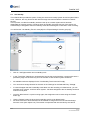
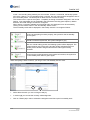
Satellite V4.5 A-B (m) = 18.2 A (m) B (m) Height (m) 1 5.0 19.2 2 15.3 14.5 3 19.1 24.6 4 13.7 8.5 S/N Camera 37.5 20.0 18 Ref. Camera 37.5 20.0 18 The measured values are now entered into the software. First enter the distances between A and B under "Measurements" (6), as well as their distances to the cameras and their heights. When slight deviations in the symmetry of the measured values occur -or invalid or incomplete values are entered - the corresponding fields turn red. In this case, you should check to see if the values were taken over properly or whether a measurement error has perhaps taken place. Enter the distances of the reference points to A and B. To do this, select one of the four red reference points in the Live Image of the reference camera (3) and enter the distances in the fields provided. Once you have entered all the reference points, the tracking has been successfully calibrated. In the last step, you can set additional tracking options: - Projection (ms): With fast moving objects, inertia will continually hold the standard network camera back in its pursuit of the object. This option enables the camera to project the probable position of the moving object (in milliseconds) and pursue it accordingly. - Targeted Object Heights: Independent of the object, you have the option of entering a percentage height for the object. If you are detecting automobiles, for instance, and you want the camera's focus to be placed at the height of the license plate, then you would select a lower object height value, 20% for instance. If you are detecting people and want the standard network camera to focus on the face, then a higher value would be more appropriate, 90% for example. - Relative Zoom: Enter the relative zoom factor in percentage to the object height. 62 © 2013 ALL RIGHTS RESERVED