1
GETTING STARTED WITH CRISP2D
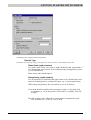
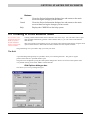
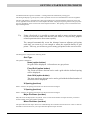
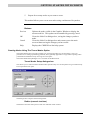
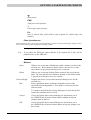
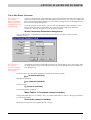
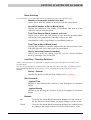
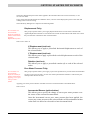
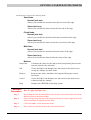
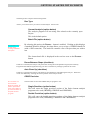
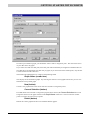
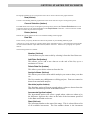
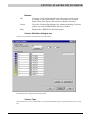
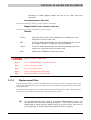
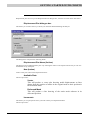
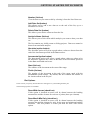
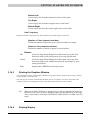
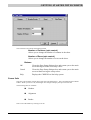
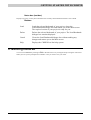
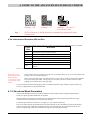
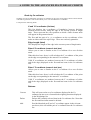
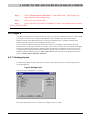
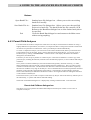
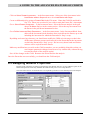
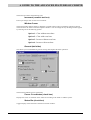
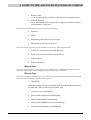
Buttons:
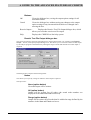
OK
Closes the Project Information dialogue box and returns to the main
screen saving the changes you have made.
Cancel
Closes the Project Information dialogue box and returns to the main
screen without saving the changes you have made.
Help
Displays the CRISP2D on-line help system.
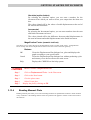
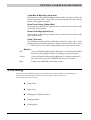
3.5 Creating A Finite Element mesh
See Section 3 in the
Technical Reference
Guide for further
details and advice
about creating finite
element meshes
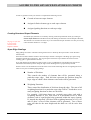
Creating a finite element mesh can be achieved in one of two ways. You can either create a super
mesh and then automatically generate a finite element mesh, or, you can create a finite element
mesh directly.
This section leads you through the process of creating a finite element mesh directly using the menu
options and the mouse to draw nodes and finite elements onto the Graphics Window.
The grid drawing tool is provided to help you create your mesh.
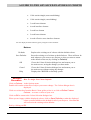
The Grid
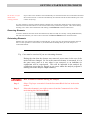
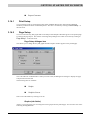
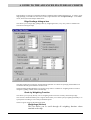
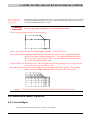
A optional background grid may be specified to assist you in drawing the mesh. The grid is a regular
pattern of dots that are a specified distance apart.
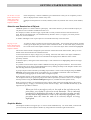
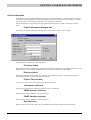
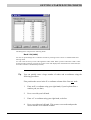
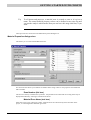
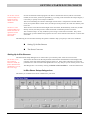
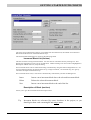
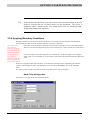
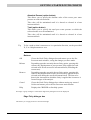
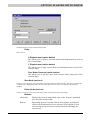
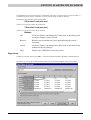
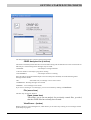
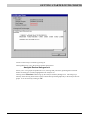
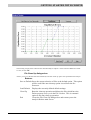
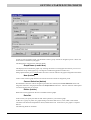
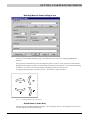
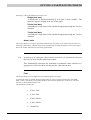
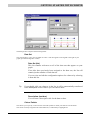
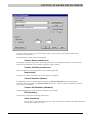
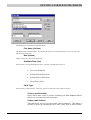
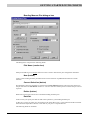
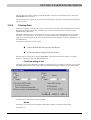
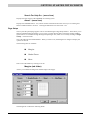
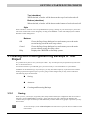
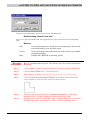
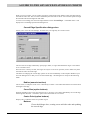
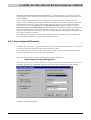
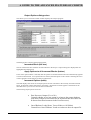
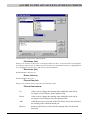
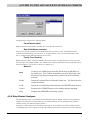
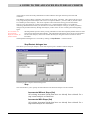
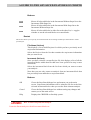
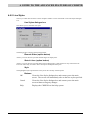
The grid can be configured by using the Grid Options dialogue box which is accessed via the Options menu
or by double clicking on the word ‘GRID’ in the Status Bar.
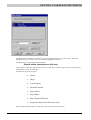
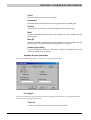
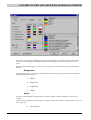
Grid Options dialogue box
This allows you to set up a background grid.
3-18