1
Designing Pages
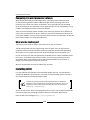
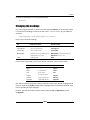
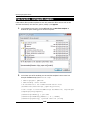
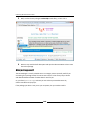
The kpsewhich tool belongs to the kpathsea library. kpathsea's
fundamental purpose is filename lookup.
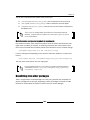
Using class options to configure the document style
We already know that a document class is the basis of our document. It provides commands
and environments extending the LaTeX standard features. Though the class provides a
default style, it's still customizable with options.
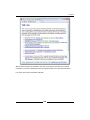
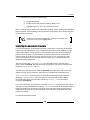
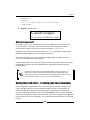
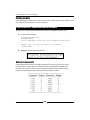
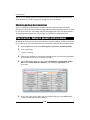
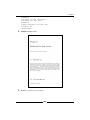
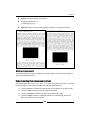
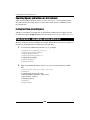
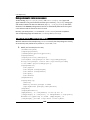
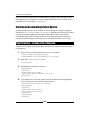
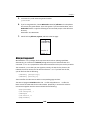
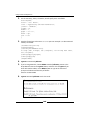
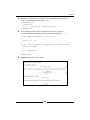
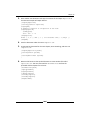
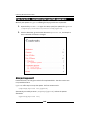
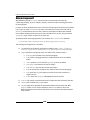
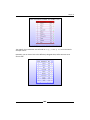
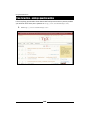
Time for action – creating a two-column landscape document
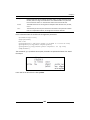
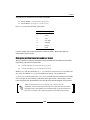
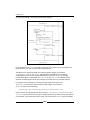
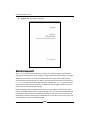
We shall change the orientation of our example to landscape. We would also like to typeset
our text in two columns:
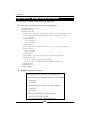
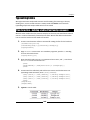
1.
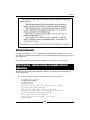
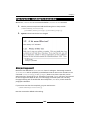
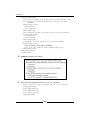
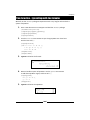
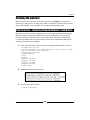
Add the options landscape and twocolumn to the \documentclass statement
of our example, as follows:
\documentclass[a4paper,12pt,landscape,twocolumn]{book}
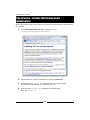
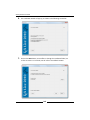
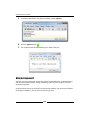
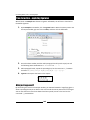
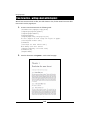
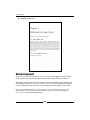
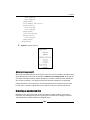
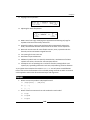
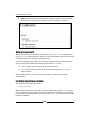
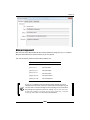
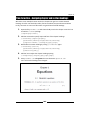
2.
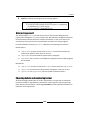
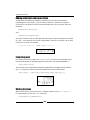
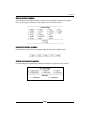
Typeset and see how the layout has changed:
[ 82 ]