1
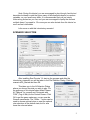
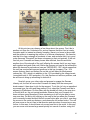
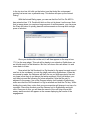
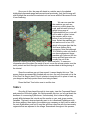
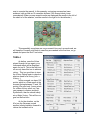
At this point we can observe a few things about the enemy. First, this is
another unit from the 1.Infanterie-Div, and we can see that this is not a cavalry
formation and it is instead an infantry formation (there is no horse in the portrait,
and the soldier in is wearing the uniform of a German infantryman). We can also
see that it too has a strength of hundreds of men, and we know that it is in good
order (because "Disrupted" text does not appear on their unit portrait). If the unit
fired on your Cossacks and heavy losses were inflicted, then this would be
another clue of the strength of the unit (effective fire means that it is a very large,
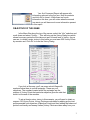
well supplied and good order unit). Below the German unit card is the information
about the hex and in particular we can see "IMPROVED -10%" which means that
the unit has constructed improved positions in this hex (scrapes). The -10%
means that any direct and indirect fire on this unit will have its effectiveness
reduced by -10%, which is in addition to the -10% provided by the village terrain
(cumulative total of -20% protection). So, this German unit will be a problem, and
we will have to bring up something to deal with it.
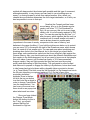
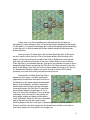
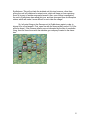
Now let's move your other units and prepare to engage the German
infantry unit, but first let's move that Cossack unit away from the enemy and
break contact: it has done its job for the moment. To do this, let's try an expedient
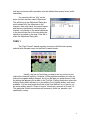
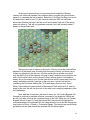
movement type, the click and drag method. First, select the Cossack unit that is
adjacent to Eydtkuhnen. Do this either with the double left click on the map icon
or the left click on the unit portrait methods. Observe that your Cossack unit
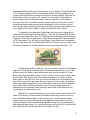
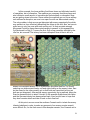
does not have many Movement Points remaining so it will only be able to move
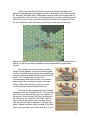
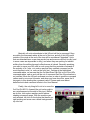
one more hex. Do this by left clicking on the map in the hex where the Cossack
unit is currently located and hold the left mouse button after you click it, now drag
the mouse to the south any distance, and release the left mouse button. The unit
will now move as far as it can in that direction and stop when it cannot move any
further. In this case, it should have only moved one hex to the south. In this way,
you can move units across large areas quickly but a word of caution: using this
10