1
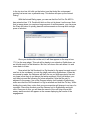
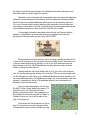
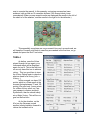
In this case, only five casualties were inflicted and the unit was not
disrupted (if it were disrupted, then a D would have been displayed in the result).
On the attack, your goal should always be to disrupt the enemy before assaulting
to take the hex, so let's proceed with further attacks since this initial one was
quite ineffective.
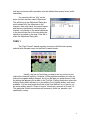
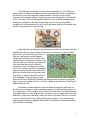
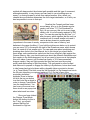
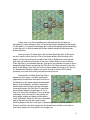
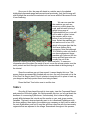
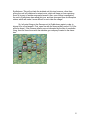
Now go to hex 10,5 and select the 3rd New-Russ Dgn Rgt. At this point,
we don't want to block the line of fire of our horse artillery that we have yet to
deploy, so let's move this unit around to the north of Eydtkuhnen, and this will
help us try to isolate the Germans in the town. Select and move the 3rd NewRuss Dgn Rgt to its northwest one hex, then move it southwest one hex so that it
passes through the hex containing the 2/3rd Don Csk Regt and ends in the hex
north of the village. Note that you could not have made your move to 9,6 then to
8,5 because the German infantry unit exerts a zone of control (ZOC) which
prevents your units from moving across the enemy's front.
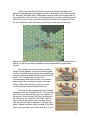
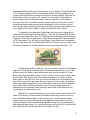
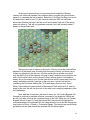
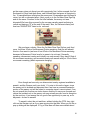
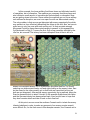
Now that the 3rd New-Russ Dgn Rgt is
adjacent to the enemy, and after any enemy
opportunity fire has been resolved, let's fire on
Eydtkuhnen in the same manner as described
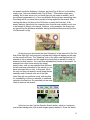
above. In this example, another 5 casualties
were inflicted on the enemy but the Germans
returned fire twice, the first time 15 casualties
were inflicted and the second time 14, for a
total of 5 versus 29 casualties. This is a terrible
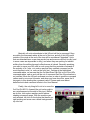
exchange, and it is a result of the enemy unit
being better quality and being fortified and in
cover (buildings), while our units are vulnerable
and in the open, but we just have to keep
whittling away at the unit in the hope of disrupting it. Also, we know that the
German unit has now used opportunity fire three times, and this is the limit on
how many times a unit may use fire in a single turn.
15