1
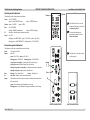
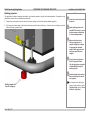
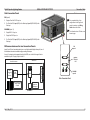
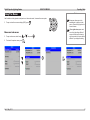
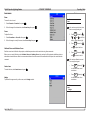
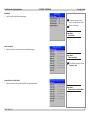
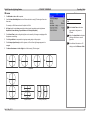
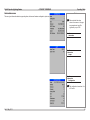
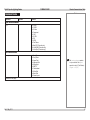
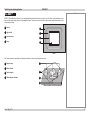
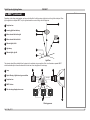
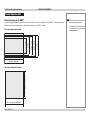
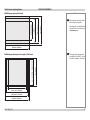
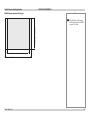
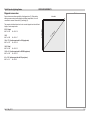
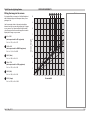
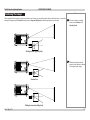
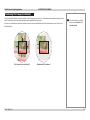
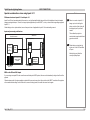
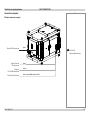
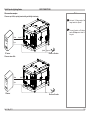
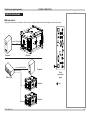
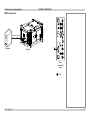
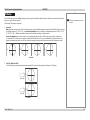
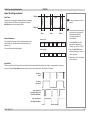
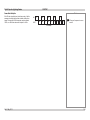
Digital Projection Lightning
SIGNAL INPUTS AND OUTPUTS
Series Connection Guide
3D connections
Notes
3D sources up to 60Hz requiring frame doubling and left/right
interleaving
•
•
For a complete listing of pin
configurations for all signal and
control connectors, see Wiring
Details later in this Guide.
Connect to any of the Inputs on the Rear Connection Panel.
Set 3D Type in the 3D menu to Auto, except when the projector has
problems selecting between Sequential, Frame Packing, Top-and-Bottom
and Side-by-Side (Half).
3D sources above 60Hz not requiring frame doubling
•
•
Connect to either of the Inputs on the Side Connection Panel.
Set 3D Type in the 3D menu to Auto, except when the projector has
problems selecting between Sequential, Frame Packing, Top-and-Bottom
and Side-by-Side (Half).
DVI
Input 9
Dual Pipe 3D
•
•
Connect to both of the Inputs on the Side Connection Panel.
Input 9 (DVI) is the left image, and Input 10 (DVI/HDMI) is the right image.
Together:
Dual Pipe 3D
3D Sync in
•
Sync input signal.
3D Sync in
3D Sync out
•
Sync output signal. This may be affected by the Sync Offset and Output
Sync Polarity settings in the 3D menu
DVI/HDMI
Input 10
3D Sync out
Side Connection Panel
3D glasses or
ZScreen
Rev C May 2013
19