1
Chapter 7 - Printing Other Items
Positioning for Printing
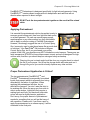
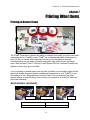
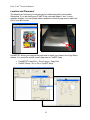
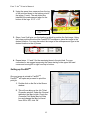
1. Set the item in the upper left-hand
corner of the print bed without a shirt
board loaded in. Raise the bed and use
the height adjustment bar to make sure
it is at the proper height. (Consult
Chapter 2 of this manual for more
details.) For odd shaped items, create a
holder or fixture to hold the items in
place during printing. Print using the
standard Photo Print Mode settings for
white T-Shirts. Sample prints may be
necessary to determine the correct Print Mode settings.
Upper Left-hand
Corner
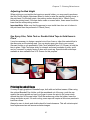
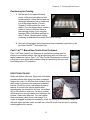
2. Once all of these setup instructions have been completed, right-click on the
job within FastRIPTM and select Print.
Fast T-Jet®™ Br
andNon-Textile Post-Treatment
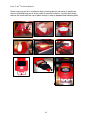
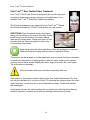
Fast T-Jet® Non-Textile Post-Treatment is a protective coating used for
prints on non-textile surfaces. Use this product along with our other nontextile treatments such as Fast T-Jet® Non-Textile Pretreatment to achieve
a long life for your prints while waterproofing and preventing the ink colors
from fading due to UV exposure..
DIRECTIONS FOR USE:
Shake can before each use. Spray onto non-textile,
printed surfaces after drying has been completed.
Apply a thin coat, 4 to 8 inches from surface. Use a
swift motion to prevent over spray and unwanted
buildup. If build up occurs, use lacquer thinner to
reduce. A second coat may be applied after
approximately two minutes of dry time. Let surface
dry for 30 minutes to one hour. Let dry in a clean,
dust free area to prevent debris from sticking to the
surface. Clean valve after use. Turn can upside
down and spray a short burst until cleared. If a
nozzle is clogged or sprays inconsistently, check for coating in the opening. Scrape off
with soft object and twist valve one half turn. Allow 24 hours cure time prior to placing
coated graphics into service.
93