1
SMARTLIBRARY USER MANUAL
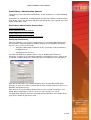
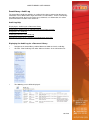
SmartLibrary: Administration Console
Thank you for purchasing Nintex SmartLibrary. To get started please read the following
carefully.
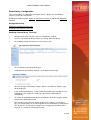
SmartLibrary is installed with an Administration Console that facilitates all administrative
tasks for the server. This document will guide you through the steps required to get your
Nintex SmartLibrary setup.
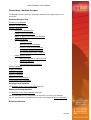
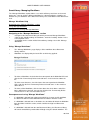
SmartLibrary Administration Console Help
Setting up SmartLibrary
Defining Automatic Deletion Settings
Defining Notification Service Settings
Enabling Sharepoint Events for Document Libraries
Setting up SmartLibrary
When SmartLibrary is successfully installed there are a few initial administration tasks
that need to be completed before the product will work on your Windows Sharepoint
Services server. These tasks include:
•
Supplying administrator credentials for the system to use when performing
background tasks;
•
Supplying your license key.
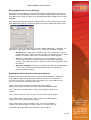
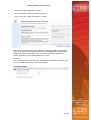
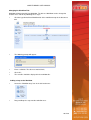
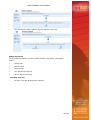
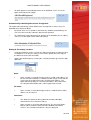
To enable SmartLibrary to provide features such as Auditing and Undelete of
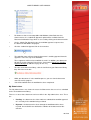
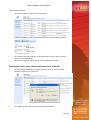
documents, it requires an account with credentials, to perform these tasks. Click on the
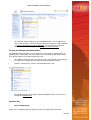
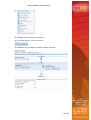
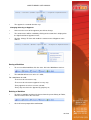
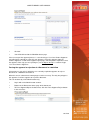
‘Credentials’ button to display the Credentials form. The following screen will display.
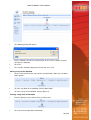
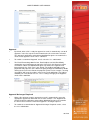
Enter the Account Name, Password and Domain of an account with Administrator
privileges on your server. Nintex recommends that this account not be an active user in
Windows Sharepoint Services.
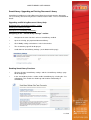
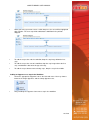
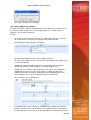
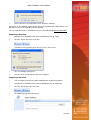
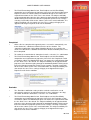
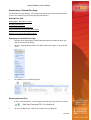
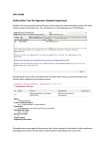
Enter the license key provided by Nintex into the License key box and click the save
button. When prompted to restart IIS, select yes so the changes are saved.
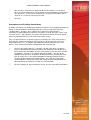
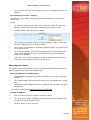
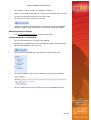
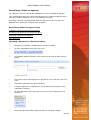
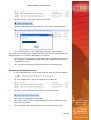
The application will return you to the front page and you will notice at the bottom of the
page are the details of your license code.
5 of 59