1
OrgPublisher 11 User Guide
Assigning Hotspots to Position Types
When you create hotspots, a type of custom field, using the Hotspot Wizard, you assign the
hotspot to either a specific position type or to all position types. Assigning a hotspot to a
single position type, such as open position, can allow links to the appropriate job
descriptions. Assigning a hotspot to all position types in your chart allows you to make the
physical locations, telephone extensions, or e-mail addresses of all employees accessible to
all employees.
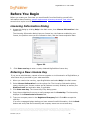
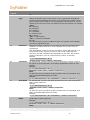
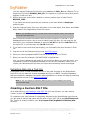
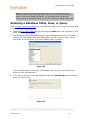
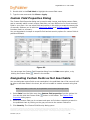
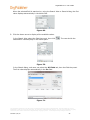
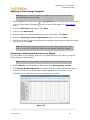
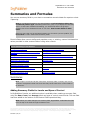
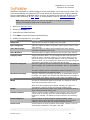
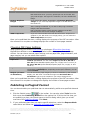
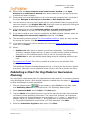
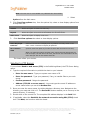
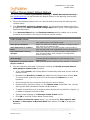
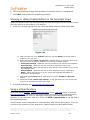
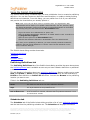
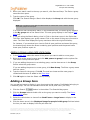
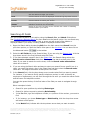
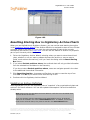
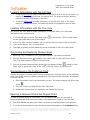
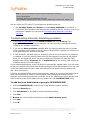
1. Click the Insert Hotspot button
in the toolbar. Drag the cursor to the location in the
chart where you want to add the hotspot and click the right mouse button. You can also
select Tools from the Main menu then Hotspot Wizard from the options list. The
Hotspot Wizard opens.
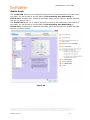
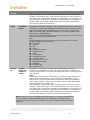
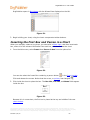
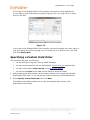
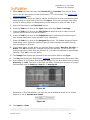
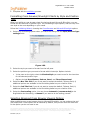
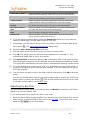
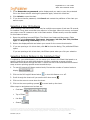
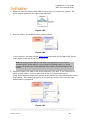
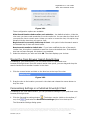
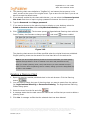
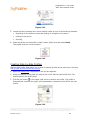
2. Follow the Hotspot Wizard prompts asking for the base path or target name, until you
reach the dialog asking you to select the position types for which the hotspot will be
active.
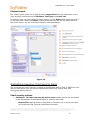
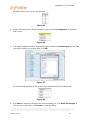
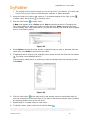
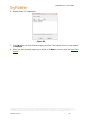
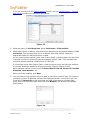
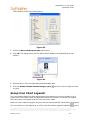
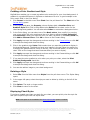
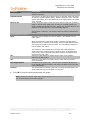
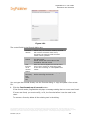
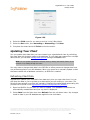
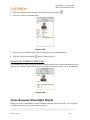
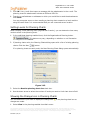
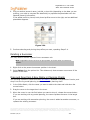
3. Click on the position type to expand it. You can also click All Position Types.
4. Click on the field you want as the hotspot link, Box Title, Job Title, or Name. A green
arrow displays next to the selected field and the position type label. Click Next.
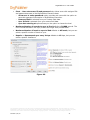
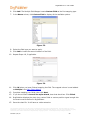
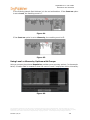
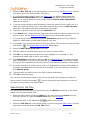
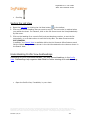
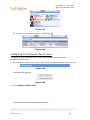
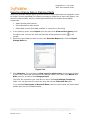
5. Follow the prompts to complete the wizard and open the Custom Field Properties dialog
to attach the hotspot to a field and, if applicable assign security.
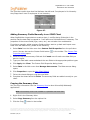
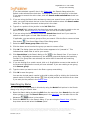
Setting a Base URL (Path)
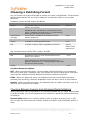
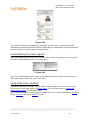
The base URL is the common path or command string for all hotspots or photos in the chart.
To set up a base URL (path), you must store the hotspots or photos for your chart in the
same location.
OrgPublisher appends the base URL to the beginning of each link in your chart, which means
you do not have to type the complete path or string for each hotspot or photo. (At the same
time, you are supporting browsers that require fully qualified URLs.) For example:
•
If all the links in your chart are to e-mail addresses of people within your
organization, set up the base URL as mailto:. However, it is recommended that you
use the Custom Field Properties dialog to set an E-mail custom field type to create
your e-mail link.
•
If you have links to company documents or photos saved on a network drive, for
example the T drive, set up the base URL as file://servername/folder name/.
•
If these documents or photos are saved on your intranet, you might set up the base
URL as http://www.companysite.com /CompanyDocuments/.
Note: You must include the trailing forward slash (/) in the base URL.
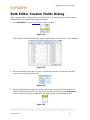
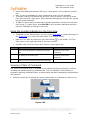
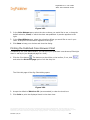
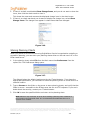
You can set a base path that is unique for each custom field. This base path can be assigned
in the Hotspot Wizard or using the Attach Hotspot dialog accessed in the Custom Field
Properties dialog.
The information contained in this document is confidential and proprietary to Peoplefluent®. This information may not be
distributed or used for any purpose other than the evaluation of Peoplefluent® solutions, nor may it be disclosed to any party
without the prior written consent from Peoplefluent®. Copyright © 2001 - 2013 Peoplefluent®. All Rights Reserved.
Revised 7/31/13
109