1
Model 2701 Service Manual
Calibration
2-13
Remote calibration
Follow the steps in this section to perform comprehensive procedures via remote. See
Appendix B for a detailed list and description of remote calibration commands.
When sending calibration commands, be sure that the Model 2701 completes each step
before sending the next command. You can do so either by observing the front panel
CALIBRATING message or by detecting the completion of each step via remote. (See
“Detecting calibration step completion” in Appendix B.)
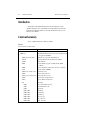
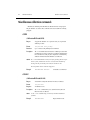
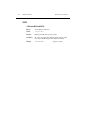
The procedures for calibrating the Model 2701 via remote include:
•
•
•
•
•
•
•
•
•
•
NOTE
Preparing the Model 2701 for calibration
Short and open calibration
DC voltage calibration
Resistance calibration
DC current calibration
AC voltage calibration
AC current calibration
Programming calibration dates
Saving calibration constants
Locking out calibration
As with front panel calibration, you can choose to perform comprehensive, DC-only,
or AC-only calibration. Be sure to include a space character between each command
and parameter.
Preparing the Model 2701 for calibration
1.
2.
3.
4.
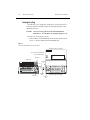
Connect the Model 2701 to the Ethernet or connect the unit to a computer through the
RS-232 port using a straight-through 9-pin to 9-pin cable (use a 9-25-pin adapter if
necessary).
Turn on the Model 2701 and allow it to warm up for at least two hours before
performing calibration.
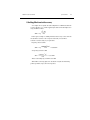
Unlock the calibration function by sending this command:
:CAL:PROT:CODE 'KI002701'
(The above command shows the default code, KI002701. Substitute the correct code if
changed.)
Send the following command to initiate calibration:
:CAL:PROT:INIT