1
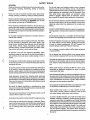
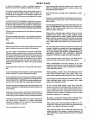
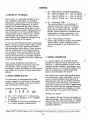
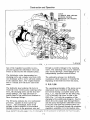
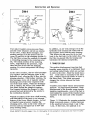
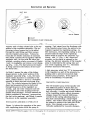
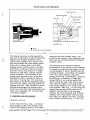
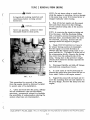
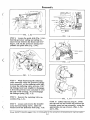
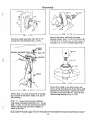
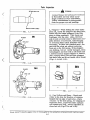
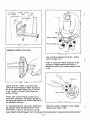
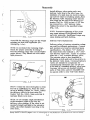
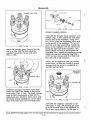
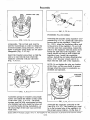
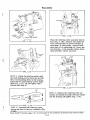
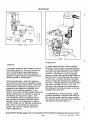
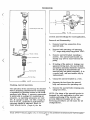
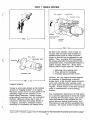
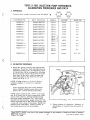
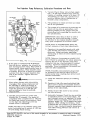
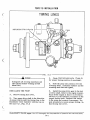
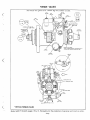
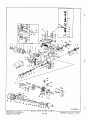
A DANGER
TOPIC 3 DISASSEMBLY
STEP 1 Remove the pump flange seal
from the housing (Fig. 3.1).
Extinguish all smoking materials and
open flames before working around
diesel fuel.
A
WARNING
A Never use gasoline, solvent or other
flammable fluids to clean parts.
A Wear safety glasses with side shields
or goggles when using compressed
air for cleaning to reduce the danger
of personal injury from flying particals. Limit the pressure to 30 psi
(2.1 kg/cm2) according to OSHA requirements.
PUMP FLANGE SEAL
Study the Manual first. Before commencing
the disassembly of the pump, cover inlet and
outlet holes, remove all external grease and
dirt by washing the unit with non-flammable,
non-toxic commercial solvent and blowing
it off with filtered, compressed air . It must
be constantly kept in mind that dirt, dust,
and foreign matter are the greatest enemies
of the fuel injection pump. As an added precaution to prevent dirt from entering the fuel
system while servicing the pump, it is
essential that a clean work space, clean
tools, and clean hands be used.
NOTE: All seals and gaskets should be discarded during disassembly.
A clean pan should be available in which the
parts may be placed upon disassembly, and
a pan of clean fuel oil must be available in
which the parts may be flushed. It is
recommended that these by deep drawn pans
which rounded corners to lessen the chances
of dirt pockets .
STEP 2 Mount the pump in holding Fixture
No. 19965. Never clamp the pump in a vise,
always use a fixture. Remove all lead
plumb seal wires. Unscrew the three cover
hold-down screws (Fig. 3.2a). Remove the
governor control cover and cover gasket
(Fig. 3.2b).
It is necessary for assembly to lubricate
parts with clean diesel fuel. Make sure
that all smoking materials are extinguished
and no open flames and sparks are near.
Place all parts prior to assembly in a
closed container of clean diesel fuel for
lubrication.
111
FIG. 3 .2 a
Study SAFETY RULES, pages I thru III, thoroughly for the protection of personal and machine safety.
3-1