1
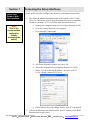
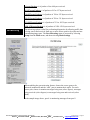
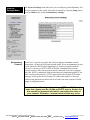
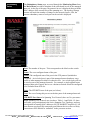
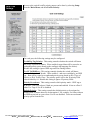
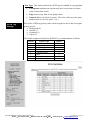
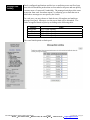
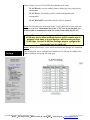
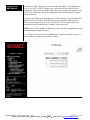
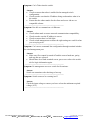
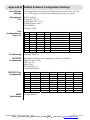
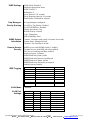
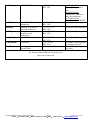
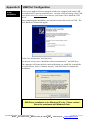
network for which this switch will reside, or you can enable DHCP. Select Commit to activate your new settings. 10. Restore your PC back to its normal network settings (IP and subnet) and reconnect it to your LAN. 11. Connect the switch to your LAN or the network it will reside and now you can use the IP address you just assigned to access your switch. If you enabled DHCP then you will need to contact your LAN administrator to determine the IP address that was assigned. 12. Once you regain access to your switch then you can do the following: a. The default administrative password can be changed from the Remote Access Security menu. b. The individual ports on the switch are configured to a set of defaults and auto-selects that should get you started quickly with no necessary configuration. Customizing the port settings by enabling/disabling a port, choosing the speed, duplex, or flow control is accessed from the Port Configuration menu. c. The Rapid Spanning Tree Protocol (RSTP) is disabled by default in the switch. The RSTP settings can be changed from the from Redundancy Settings screens. d. Check the operational status of the switch by accessing the Monitoring menu. e. The modem and PPP settings are found in the Remote Access Settings menu. Note: The switch can also be initially configured using the serial port. However, the Ethernet method described above is recommended. Refer to Appendix J if you wish to use the serial port method. IP67 Managed Military Switch Software User Manual Page 9 Last Revised: 17-Aug-09 Sixnet 331 Ushers Road Ballston Lake, NY 12019 USA 1.518.877.5173 [email protected]