1
Claim Editor User Guide
Draft a Claim
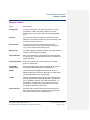
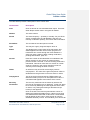
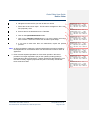
7.• Total Achieved to Date: All revenue expenditure reported to date, i.e.
including the revenue expenditure reported on the current claim.
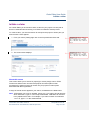
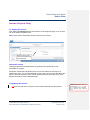
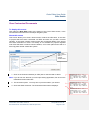
Completing this screen
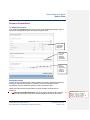
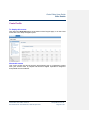
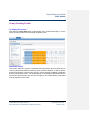
The revenue expenditure screen is completed in exactly the same way as the
capital expenditure page.
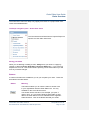
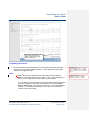
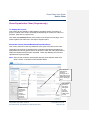
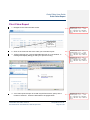
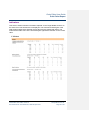
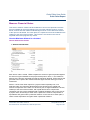
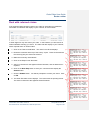
1. Enter the value of revenue expenditure defrayed during the claim period
against each revenue expenditure category in the box(es) provided. Values
must be entered for all categories displayed. The total spend to date
(excluding this claim period) by category is displayed for reference. The
target revenue expenditure for this claim period (as per the offer letter) is
displayed at the bottom of the right hand column.
Note: When the screen is validated, where the value entered differs from the target
value by more than +/- 10%, the user is presented with a box in which to
enter a reason for the variance.
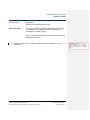
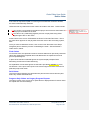
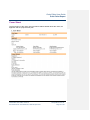
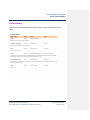
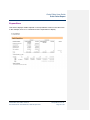
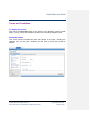
2. You must attach a spreadsheet identifying the documents that form evidence
of the expenditure reported on the claim (e.g. invoices, certificates,
timesheets etc).
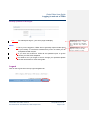
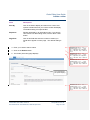
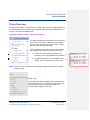
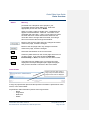
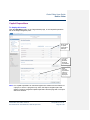
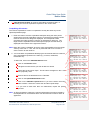
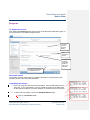
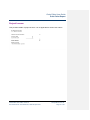
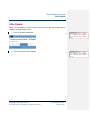
To add a file, click on the Add Attachment button:
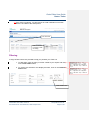
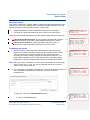
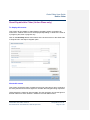
•a. Click on the Browse button.
•b. Navigate to where the file you wish to attach is stored.
•c. Select the file and click ‘Open’. The file name will appear in the ‘Local
File (required):’ field.
•d. Enter a title for the attachment in the Title field.
Formatted: Numbered + Level: 1 +
Numbering Style: 1, 2, 3, … + Start
at: 1 + Alignment: Left + Aligned at:
18 pt + Tab after: 36 pt + Indent at:
36 pt
Formatted: Numbered + Level: 1 +
Numbering Style: a, b, c, … + Start
at: 1 + Alignment: Left + Aligned at:
54 pt + Tab after: 72 pt + Indent at:
72 pt
Formatted: Numbered + Level: 1 +
Numbering Style: a, b, c, … + Start
at: 1 + Alignment: Left + Aligned at:
54 pt + Tab after: 72 pt + Indent at:
72 pt
Formatted: Numbered + Level: 1 +
Numbering Style: a, b, c, … + Start
at: 1 + Alignment: Left + Aligned at:
54 pt + Tab after: 72 pt + Indent at:
72 pt
Formatted: Numbered + Level: 1 +
Numbering Style: a, b, c, … + Start
at: 1 + Alignment: Left + Aligned at:
54 pt + Tab after: 72 pt + Indent at:
72 pt
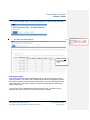
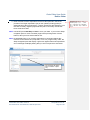
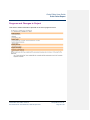
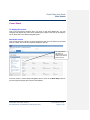
•e. Click on the Upload Attachment button.
•f. Click on the Abandon Upload button if you have chosen the wrong
item to attach. Select the correct item and then repeat steps.
•g. If you wish to add more than one attachment, repeat the upload
process.
Note: An Excel template to capture the required information has been provided by
the Department for Communities and Local Government to GOs for issue to
Applicants.
Claim Editor User Guide: Version 6
Document Owner: Victoria Norman, TESA Project Team
Formatted: Numbered + Level: 1 +
Numbering Style: 1, 2, 3, … + Start
at: 1 + Alignment: Left + Aligned at:
18 pt + Tab after: 36 pt + Indent at:
36 pt
Last updated: 30-07-07
Page 28 of 69
Formatted: Numbered + Level: 1 +
Numbering Style: a, b, c, … + Start
at: 1 + Alignment: Left + Aligned at:
54 pt + Tab after: 72 pt + Indent at:
72 pt
Formatted: Numbered + Level: 1 +
Numbering Style: a, b, c, … + Start
at: 1 + Alignment: Left + Aligned at:
54 pt + Tab after: 72 pt + Indent at:
72 pt
Formatted: Numbered + Level: 1 +
Numbering Style: a, b, c, … + Start
at: 1 + Alignment: Left + Aligned at:
54 pt + Tab after: 72 pt + Indent at:
72 pt