1
Tasks
23
How to View Secure Web Sites
Communicating and conducting business on the Web is quickly becoming the most
convenient, effective means of transaction. Therefore, Web sites must be secure to
protect the corporation, the individual and the information exchanged.
With your Classic Client smart card/token, you can browse secure Web sites knowing
that your private key and digital certificate are safely stored on your smart card/token
instead of your hard drive, where they might be susceptible to unauthorized access.
Note: All secure Web site addresses must begin with https://. Browsers display a lock
icon at the bottom of the browser window indicating that the site is secure. A closed
lock indicates that you are operating in secure mode. You may need to configure your
organization’s network to allow secure browsing.
When you connect to a secure Web site, your certificate must be specified in your
browser so that you can authenticate yourself to the Web server. For example, when
you bank online, your bank must be sure that you are the correct person to get account
information. Your certificate confirms your identity to the online bank.
The following sections explain how to check that your certificates are correctly
registered in your browsers when authenticating with secure web sites using Mozilla
Firefox.
Choosing a Certificate to Authenticate Yourself to Secure Web Sites
To authenticate using the Mozilla Firefox browser, your certificate must be registered in
the browser. This section describes how to check that a certificate is registered and
also how to tell the browser whether it should select the certificate itself, or ask you.
The screenshots in this section were made using Iceweasel, which is the Debian
version of Mozilla Firefox. The two applications are identical except for their
appearance.
To check certificates registered in Mozilla Firefox:
1
Make sure your card/token is connected.
2
Open Mozilla Firefox.
3
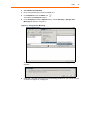
From the Edit menu choose Preferences.
4
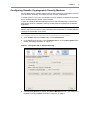
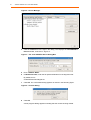
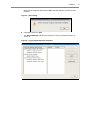
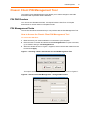
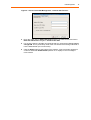
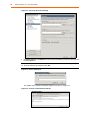
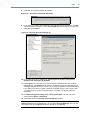
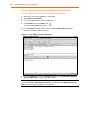
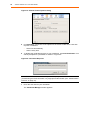
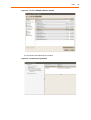
Click the Advanced icon, then the Encryption tab as shown in “Figure 19”.