1
CHAPTER 2—INSTALLING THE LIBRARY
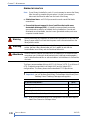
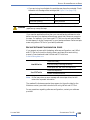
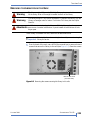
Antes de realizar cualquier procedimiento de instalación o de mantenimiento,
comprobar que el interruptor de alimentación de la biblioteca está apagado y
que el cable de alimentación no está enchufado ni a la biblioteca ni a la toma
de corriente.
Advertencia
INSTALLING THE LIBRARY IN A RACK
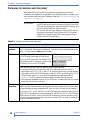
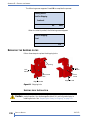
The library is designed to be installed in a standard 4-post, 19-inch rack, using
2 units (2U) of rack space. Please read the entire section before you begin.
Two-post racks will not support the library. The rack-mount kit includes the
following items:
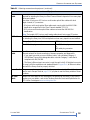
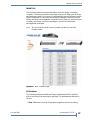
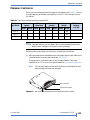
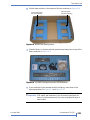
18 – M5 x 12 Crest Cup™ screws (black) 2 – sets of side support rails
(includes two spare screws)
(left-side front and back rails and
right-side front and back rails)
2 – M3 x 8 Crest Cup screws (silver)
8 – washers
To install the library in a rack, you must obtain these tools:
#2 Phillips screwdriver
!
Important
Level
Tape measure
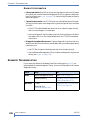
The rails provided with the library are designed for a 4-post
rack. A 2-post rack will not support the weight of the library.
ASSEMBLING THE RAILS
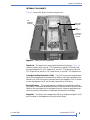
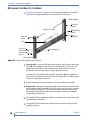
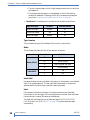
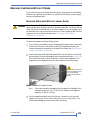
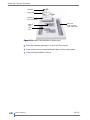
1. Measure the depth of your rack—Using a tape measure, measure the inside
distance from the front mounting holes of your rack to the back mounting
holes. See Figure 2-3, distance (E).
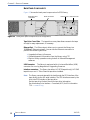
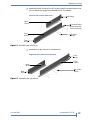
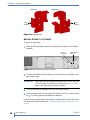
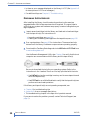
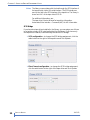
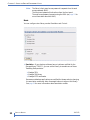
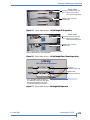
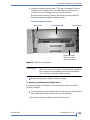
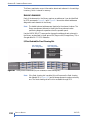
2. Position the front and back sections of the left-side rail as shown in
Figure 2-1, with the front rail section on top of the back rail section. Spread
the sections to the distance you measured in step 1.
16
PRODUCT MANUAL
1017472