1
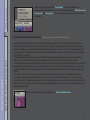
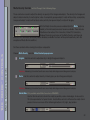
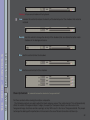
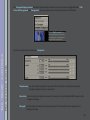
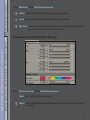
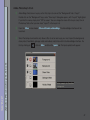
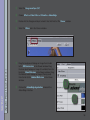
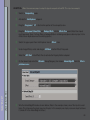
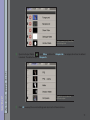
With Screen selected from the Automation pop-up menu, use the Add Overlay
tool to scrub on areas that represent the blue (green) screen, including
shadows. The overlay will be used in the final process to fully eliminate these
areas from the final composite. Continue in this manner until the foreground
subject and its shadows are surrounded with an overlay.
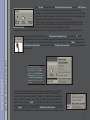
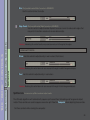
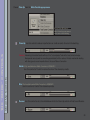
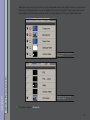
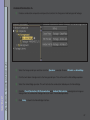
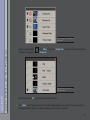
Make sure the overlay does not cover any foreground detail that is to be
retained. If the overlay does cover foreground subject matter, then use the
Remove Overlay tool to scrub on those areas that should not be covered by the overlay.
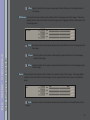
Repeat these two processes until the overlay covers the blue (green) screen areas and no subject matter.
Set Roto-Screen Correction
QUICK START
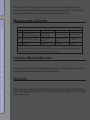
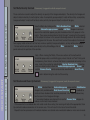
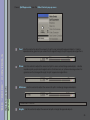
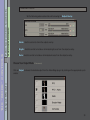
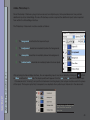
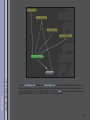
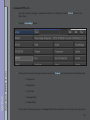
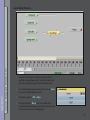
View the composite by clicking on the Composite thumbnail icon or by pressing C on the
keyboard to see the screen corrected composite with anomalies in the backing area removed.
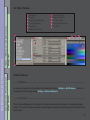
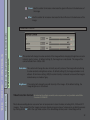
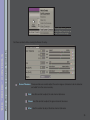
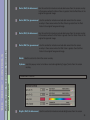
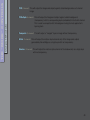
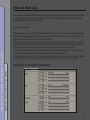
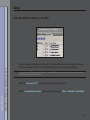
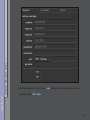
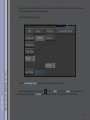
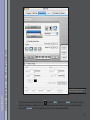
To learn which controls were automatically set by AdvantEdge, click on More and select the
Roto-Screen Correction control panel from the Controls pop-up menu and note the position of
the controls.
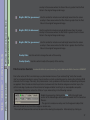
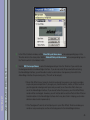
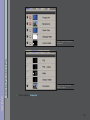
To learn which controls
were automatically set by
AdvantEdge, click on More
and select the Roto-Screen
Correction control panel from
the Controls pop-up menu
and note the position of the
controls.
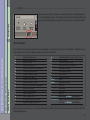
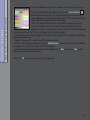
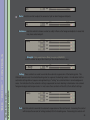
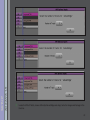
Note: When scrubbing on the Screen Area using "Add Overlay", the RGB
value of the points chosen are accumulated in a "Keep" list and "Remove
Overlay" points are accumulated in a "Drop" list. If both lists have equivalent
values, a conflict may occur, resulting in no visible change in the overlay. If a
conflict occurs, try using Undo which will flush the last set of points added to
the appropriate list or resetting the Roto-Screen Correction controls by clicking
on the Reset pop-up menu and selecting Roto-Screen Correction. All points in
both lists will be flushed and the controls will be returned to their default values.
17