1
CHAPTER 4. APPLICATION DESIGN
79
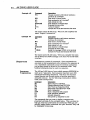
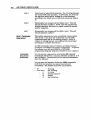
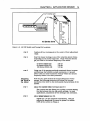
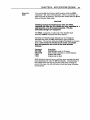
Tuning Pot "lusting .crewe
AX Series Drive
Figure 4-5. AX DIP Switch and Tuning Pot Locations
STEP
3
STEP 4
Position all four tuning pots to the center of their adjustment
range.
Start the motor moving at one of the velocities shown below.
depending on the motor frame size. These velocities should
get you close to the natural frequency of the motor.
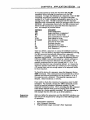
57 Series (NEMA 23)
83 Series (NEMA 32)
106 Series (NEMA 42)
STEP
5
Adjusting
the Drive to
the Motor
STEP
1
3.6rps
2.8 rps
2.0 rps
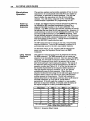
USing one of the gauging methods mentioned above. increase
and decrease the velocity in small increments (. 1 rps and
lower) until you have located the velocity where the natural
frequency seems to be most prominent.
Now that you have located the natural frequency of your
system. the following procedure will adjust the current
waveform of the drive to the mechanical characteristics of the
system.
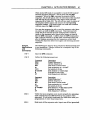
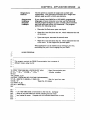
Adjust the current trim if necessary (pot #1)
The current trim pot allows you to select a current setting
that lies between any two dip switch settings. In most
applications. adjustment of this setting is not necessary.
STEP
2
Adjust phase balance (pot #4).
Adjust this pot for maximum smoothness. This pot
adjusts the amplitude of current in phase B to within
±10% of the current in Phase A