1
Hard Drive
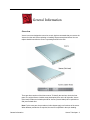
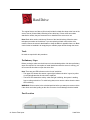
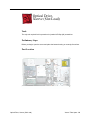
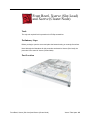
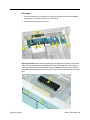
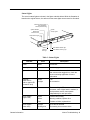
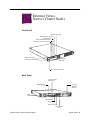
The original Xserve and Xserve (Slot Load) include four hard drive bays at the front of the
server; Xserve (Cluster Node) includes just one drive bay. Drives come as modules
attached to carriers; they are removed from or installed in the server as a unit.
Note: Blank drive carriers, which may fill some of the hard drive bays, follow the same
take-apart procedure as hard drives. If you are replacing a blank carrier with a drive
module, instruct the server’s administrator to keep the blank for possible future use. Blank
carriers must be installed in all empty bays to maintain proper airflow through the server.
Tools
No tools are required for this procedure.
Preliminary Steps
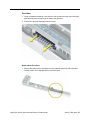
Before you begin, make sure the drives are in the unlocked position. No other preliminary
steps are required. You can replace or install hard drives while the server is running; you
do not need to shut down or open the server first.
Note: There are two LED indicators on the front of each drive.
• The upper LED shows drive status: a green light indicates the drive is good; a yellow
or red light indicates the drive should be replaced.
• The lower LED shows drive activity: when the light is blinking, the system is reading
from or writing to the drive. To avoid losing data, never remove a drive when the lower
LED is blinking.
WARNING: Drives must be in the unlocked position before you attempt to remove a drive.
If the drives are locked, pulling on the drive to remove it could damage the drive handle.
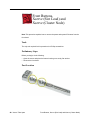
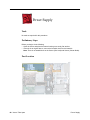
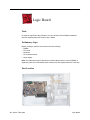
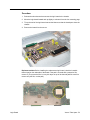
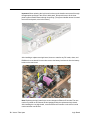
Part Location
4 - Xserve Take Apart
Hard Drive