1
7193 Owner’s Guide
Chapter 2: Setting Up the Printer
Testing the Printer
Run this test to check the printer. The test prints the settings for several functions, prints all
variations of the character sets, and partially cuts the paper between each variation. See
“Level 1 Diagnostics” in chapter 4 for a description of the functions.
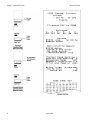
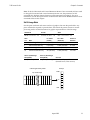
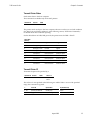
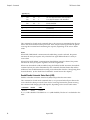
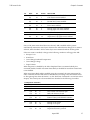
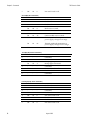
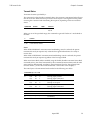
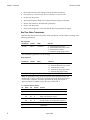
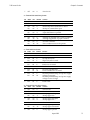
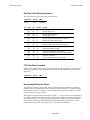
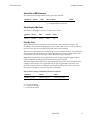
A sample printout of RS-232C printers is shown on the facing page. The printouts for other
models are similar. The test ends with a partial cut, then begins again. Several feet of paper
can be used to print one pass of the test.
Additional diagnostic tests may be performed by a trained service representative. For more
information, see “Chapter 4: Diagnostics.”
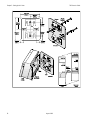
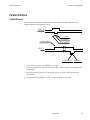
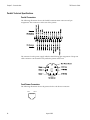
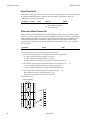
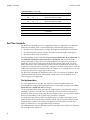
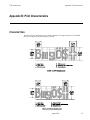
Note: The operator panel may differ from the standard version (shown on top in the
illustration on the facing page) depending on the model. On models matching the alternate
version (shown on bottom in the illustration), use a paper clip or pointed object to press the
plunger to put the printer on- or off-line.
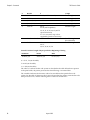
1.
Press the On Line Button (or plunger) on the operator panel to put the printer off-line.
The On Line light turns off indicating the printer is off-line.
2.
Press and hold the Paper Feed button while pressing the On Line Button (or plunger).
3.
Let go of the Paper Feed button once the printing begins.
The printer begins printing the data and character sets until you stop the test. This can
be given to a service representative if it appears there is a problem.
4.
To stop the test, press the Paper Feed button.
August 1998
15