1
Chapter 14: Automation
This chapter will explain how to maximize and
expand the capabilities of Pro Tools mix automation with Control|24.
Recording Mix Automation
Control|24 replicates Pro Tools on-screen automation features, with channel-based and session-wide automation controls.
Automation Mode
You can set the Automation mode for all tracks,
or all selected tracks, by toggling a channel’s
AUTO switch.
To set the Automation mode for a track:
Press the AUTO switch for any channel repeatedly to scroll through and select the desired
Automation mode.
■
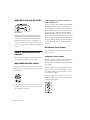
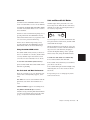
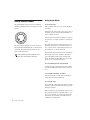
Channel Automation Switches
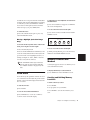
The AUTO switches found in each Control|24
channel strip select the current channel automation mode (Read, Write, Trim, Latch, Touch,
and Off). Current automation state is indicated
using the LED labels to the right of each AUTO
switch. When none of the LEDs are lit, automation is disabled for that channel.
To set the Automation mode for all tracks from
Control|24:
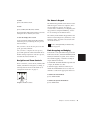
Automation Section
While pressing APPLY TO ALL CHANNELS or
OPT(ALT)/ALL, press the AUTO switch for any
channel repeatedly to select the desired Automation mode.
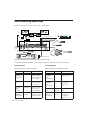
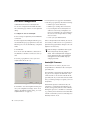
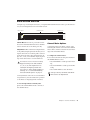
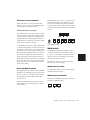
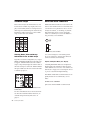
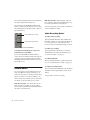
The Automation section is located to the left of
the fader bank, and consists of the MODE and
ENABLE columns of six switches each, three
WRITE AUTOMATION TO switches, and the
AUTO SUSPEND switch.
■
To set the Automation mode for all selected
tracks:
1 Select any tracks you want to affect.
2 While pressing APPLY TO ALL SELECTED
CHANNELS or OPT(ALT)/ALL+SHIFT/ADD,
press the AUTO switch for any selected channel
repeatedly to select the desired Automation
mode.
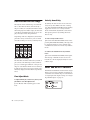
AUTOMATION MODE Switches
The master AUTOMATION MODE switches augment the channel AUTO switch section, for selecting channel automation mode.
Chapter 14: Automation
117