1
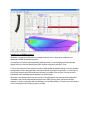
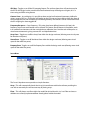
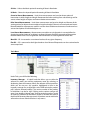
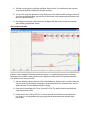
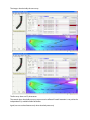
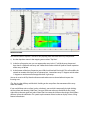
SPL Map – Toggles on or off the SPL mapping feature. The surfaces themselves will continue to plot
the SPL for the design but the overall vertical and horizontal map will be bypassed. Again, this is a
time-saving and RAM-saving feature.
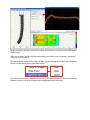
Contour Lines – In each design, it is possible to show vertical and horizontal isocontours defined in
various stages of SPL loss. These plots will overlay on the SPL map and are useful to clarify the shape of
the coverage and how well it matches the audience geometry. The contours can be viewed even when
the SPL mapping has been toggled off.
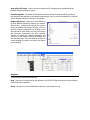
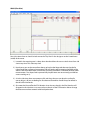
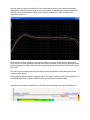
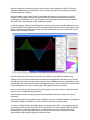
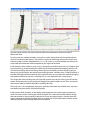
Frequency Response – Once frequency / SPL points have been defined (more on this later), the
frequency response at each location can be viewed. This feature, like all features in Resolution, works
in an anechoic environment and does not include any reflective data. Consider each of the points as
virtual measurement mics giving accurate SPL and equalization data.
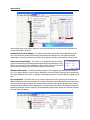
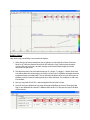
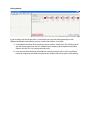
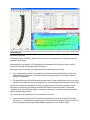
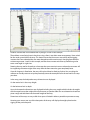
Array Pane – Toggles on or off the Array Pane within the design work area (allowing more visual space
for the other two panes)
Venue Pane - Toggles on or off the Venue Pane within the design work area (allowing more visual
space for the other two panes)
Property Pane - Toggles on or off the Property Pane within the design work area (allowing more visual
space for the other two panes)
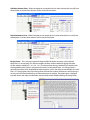
Insert Menu
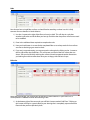
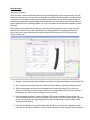
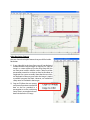
The “Insert” dropdown menu provides to simple functions:
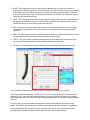
Array – This will automatically launch the Array Assistant feature within the software providing the
user with an extremely fast and accurate way of placing arrays.
Floor – This will place a new floor within the model. Be advised that this is a “new” floor and not an
addition to a currently implemented floor already placed within the model.