1
OPERATION
・The iris reader once selected by Verification Reader selection will be selected again for the next
verification with a default at the time of capturing.
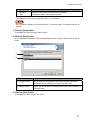
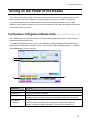
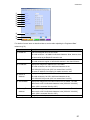
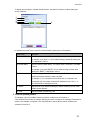
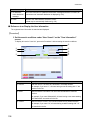
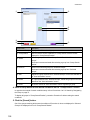
3. Click the [Yes] button to use the iris reader for iris verification.
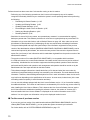
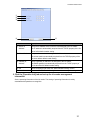
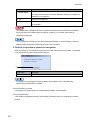
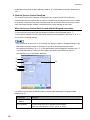
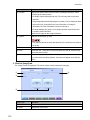
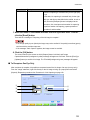
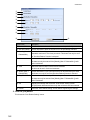
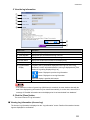
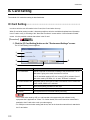
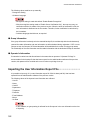
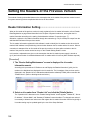
When a message of “The reader will capture one iris images. Verifying.” is displayed, gaze at the iris
reader until the shutter functions.
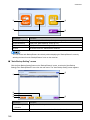
①
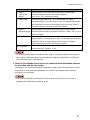
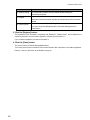
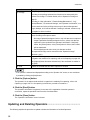
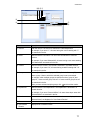
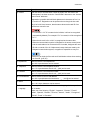
Screen Item
Description
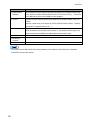
① Cancel
Cancels verification.
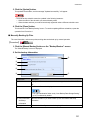
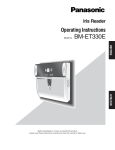
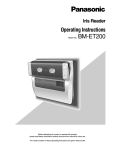
・For details on how to display iris reader guidance during capture, refer to the Operating
Instructions provided with the iris reader.
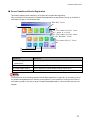
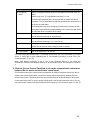
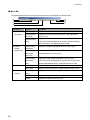
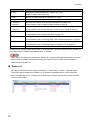
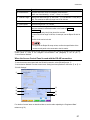
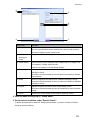
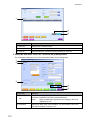
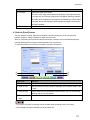
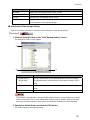
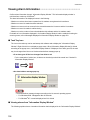
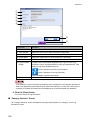
4. The result of verification is displayed.
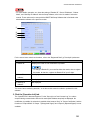
The result of IC card recognition is displayed in a message of “Verified”, “Could not be verified”,
“Verified left iris data only”, or “Verified right iris data only”.
To raise the recognition accuracy, repeat this confirmation until “Verified” is displayed. If there is no
display of “Verified” even though IC card recognition has been repeated several times, try to undergo
iris imaging to register the iris data again.
5. Click the [OK] button.
The previous screen appears.
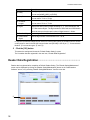
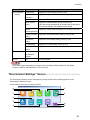
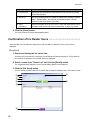
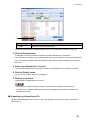
■ Clear IC Card Data
Delete (format) the data written in the IC card.
In regard to the method of IC card writer connection and that of card setup, refer to the operating
instructions attached to the IC card writer.
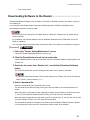
【Procedure】
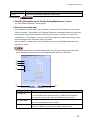
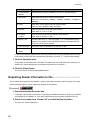
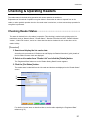
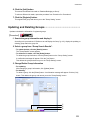
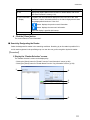
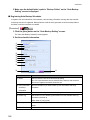
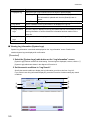
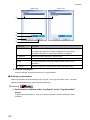
1. Set an IC card in the IC card writer and click the [Clear IC Card Data] button.
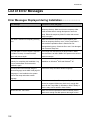
A message of “Clear IC card data?” is displayed.
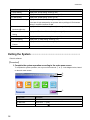
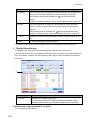
2. Click the [Yes] button.
Clear the IC card data. A message of “IC card has been cleared.” is displayed.
120