1
TIENet™ 306 Sampler Interface
Section 2 Installation and Operation
2.1.3 Connecting to the
Sampler
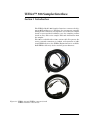
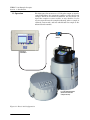
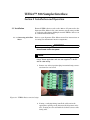
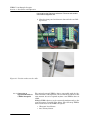
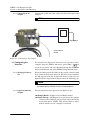
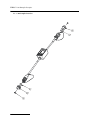
Connect the sealed end of the cable to the flow meter port of the
sampler.
Note
The sampler must have its own power source.
( 6712 Controller
Shown)
Figure 2-7 Connecting to the sampler
2.2 Configuring the
Interface
To configure the Signature flow meter for operation with a
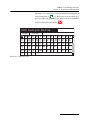
sampler using the TIENet 306 device, press MENU (
) to
access the top menu, and select Hardware Setup. For all TIENet
devices including the 306, select TIENet Setup (Smart Sensor).
2.2.1 Updating the Device
List
When the 306 is physically added to the system, select Perform
Scan so that the flow meter detects it. When the scan is complete,
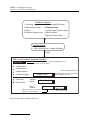
the 306 appears in the list of connected devices, ready to be configured with the steps shown in Figure 2-9 on the following page.
Note
From the Hardware Setup menu, “Configure” refers to defining
and selecting the parameters for each connected device.
2.2.2 Input Data from the
Sampler
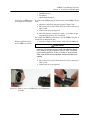
The two parameters that appear for the 306 device are:
306 Sample Bottle – Sample event and Bottle number
306 Input Voltage – 12VDC present on pin A from the sampler
connector (the sampler is powered separately from the Signature flow meter). NOTE - This measurement is only to
indicate whether or not a sampler is connected.
2-6