1
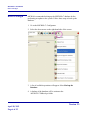
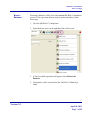
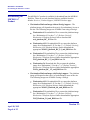
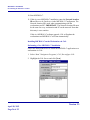
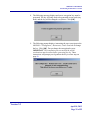
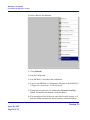
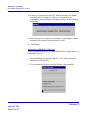
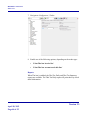
MICROS e7 Installation
Downloading the MICROS e7 Product
2. Double-click on e7_pc_build_3.3.exe to extract the MICROS e7
files.
3. Enter a directory location where the MICROS e7 files will be
extracted (i.e., C:\e7CD).
4. Click on Unzip.
5. Click on Close.
Note
The MICROS e7 installation can be started from the directory
where you extracted files in these previous steps (i.e., C:\e7CD)
using the instructions below.
or
These extracted MICROS e7 files can be burned onto a CD.
Then e7PcSetup.exe can be executed to start the product
installation.
Installing the MICROS e7 PC Setup Files to a PC
Important!
Workstation(s) should now be turned off and not turned back
on until AFTER patch installation is complete.
1. Open Windows Explorer on the PC.
2. Locate the MICROS e7 software directory (i.e., C:\e7CD) that you
extracted in the previous steps.
3. Run e7PCSetup.exe.
4. If User Access Control (UAC) is enabled, the user will be prompted
to allow the MICROS e7 installation. Click Allow.
5. Click [Next] from the MICROS e7 Setup Welcome screen.
6. Review the End User License Agreement, click I Accept the
Agreement, and then click [Next].
Version 3.3
April 18, 2013
Page 36 of 55