1
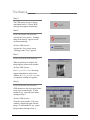
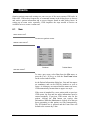
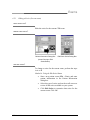
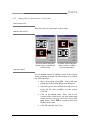
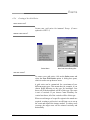
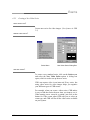
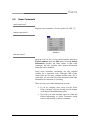
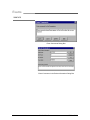
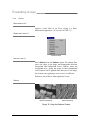
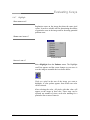
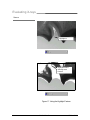
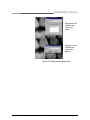
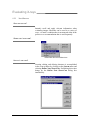
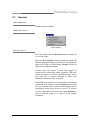
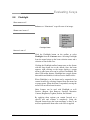
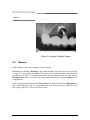
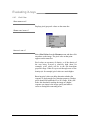
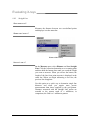
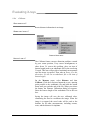
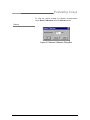
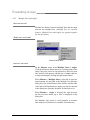
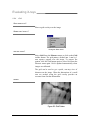
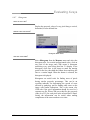
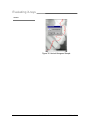
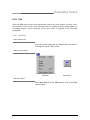
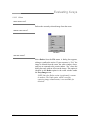
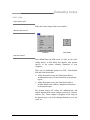
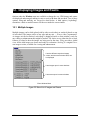
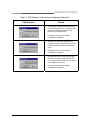
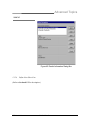
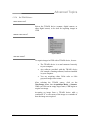
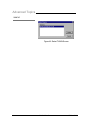
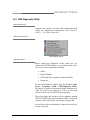
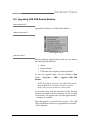
1.
The Basics
Follow the steps below to take an X-ray using CDR. For additional details on acquiring
images (manual acquire and AutoTake), refer to Section 7.
STEP 1
Start CDR from the Windows Start button or by clicking on the desktop shortcut to CDR.
STEP 2
A. In the CDR exam window, click >
File > New, or click the New Exam
button.
B. In the Patient Information dialog
box, enter the appropriate
information and select the series.
C. Click OK.
STEP 3
A. Place the sensor in the holder, and then place the sheath over sensor and holder. Place
the sensor in the patient’s mouth with the flat side facing the X-ray tube.
B. Check the X-ray source exposure setting. The proper setting on the X-ray source
depends on several factors, among them, the type of tube, the anatomy of the patient,
and the location of the sensor in the oral cavity.
STEP 4
CDR USB Systems with AutoTake —
The first empty target frame is preselected and flashes green (default
setting). Skip ahead to Step 6.
All other CDR Systems —
Select an empty target frame that
matches the sensor’s location in the
patient’s mouth. When the frame is
highlighted, click on it again. If the
system is equipped with a footpedal,
press the amber pedal.
CDR User Guide
B1051001 Rev. B
1