1
ANT-20/ANT-20E
Mainframe, SONET Version
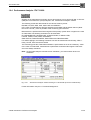
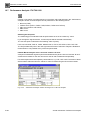
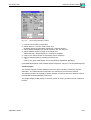
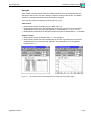
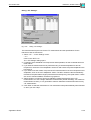
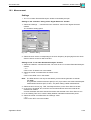
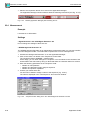
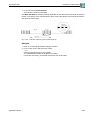
Verify the driver installation
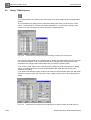
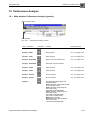
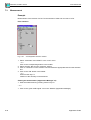
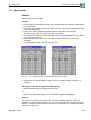
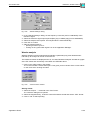
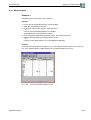
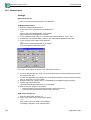
To show the “SCM Ethernet Combo card Properties” window
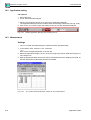
1. Start or return to Windows95.
2. Click the Windows95 “Start” button, choose “Settings” and then choose “Control Panel”.
In the “Control Panel” window, double-click the “System” icon.
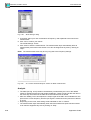
3. In the “Device Manager” tab of the “System Properties” window, choose “View devices by
type”, double-click “Network adapters” in the list, and then double-click “SCM Ethernet
Combo card”.
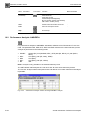
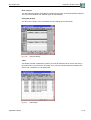
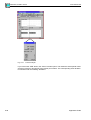
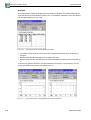
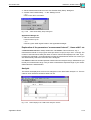
Modify the C:\WINDOWS\hosts file
The C:\WINDOWS\hosts file is merely an example. It must be modified to adapt to your
network:
The hosts file must contain the IP addresses of all network nodes with which you want to
communicate, including the IP address of the ANT-20 itself and the IP address of the gateway
(if any) between the ANT-20 and the controlling PC. The first entry in the file is the mapping for
“localhost” and must be left unchanged (see sample hosts file C:WINDOWS\hosts.sam).
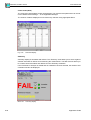
Ask your network administrator for the required entries for the hosts file to adapt to your
network.
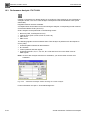
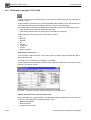
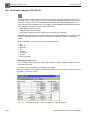
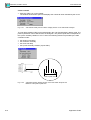
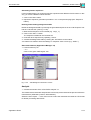
Configure the network setup
1. Start or return to Windows95.
2. Click the Windows95 “Start” button, choose “Settings” and then choose “Control Panel”.
In the “Control Panel” window, double-click the “Network” icon.
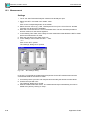
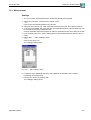
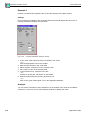
3. In the “Configuration” tab of the “Network” window, click “Add …”.
4. In the “Select Network Component Type” window, double-click “Protocol”.
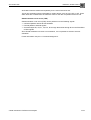
5. In the “Manufacturers” list of the “Select Network Protocol” window click on “Microsoft”, and
in the “Network Protocols” list click on “TCP/IP”. Confirm with “OK”.
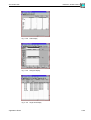
6. Back in the “Configuration” tab of the “Network” window, remove all other protocol entries
(except TCP/IP) from the list, and then double-click on “TCP/IP”.
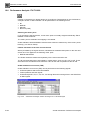
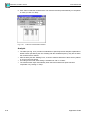
7. In the “IP Address” tab of the “TCP/IP Properties” window choose “Specify an IP address”
and set the “IP Address” of the ANT-20 and the “Subnet Mask”.
In the “Gateway” tab of the “TCP/IP Properties” window type the address of the default
gateway into the dialog box “New gateway”, then click “Add …”.
Ask your network administrator for the required entries to adapt to your network.
Confirm with “OK”.
8. Back in the “Network” window, choose “Identification” tab, and then set “Computer Name”
(must be unique in the network), “Workgroup” etc. to suit your requirements.
Confirm with “OK”.
9. Reboot the ANT-20 now.
Remote operation
RO-13