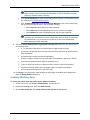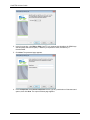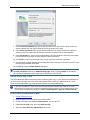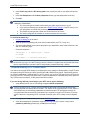
1
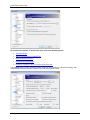
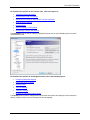
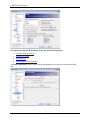
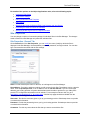
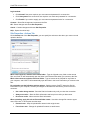
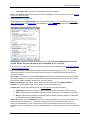
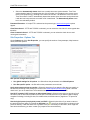
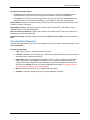
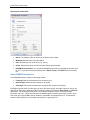
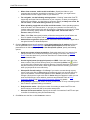
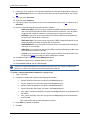
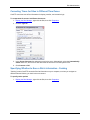
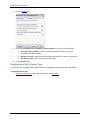
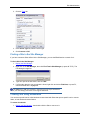
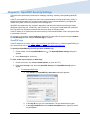
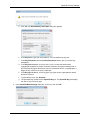
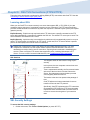
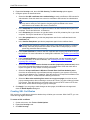
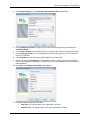
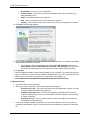
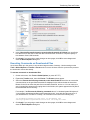
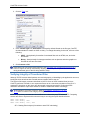
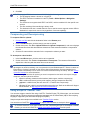
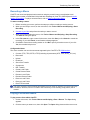
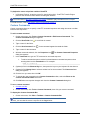
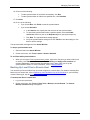
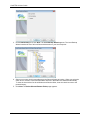
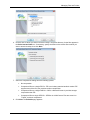
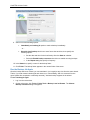
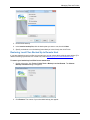
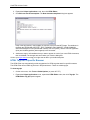
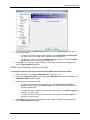
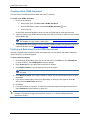
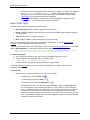
CuteFTP® v9 User Guide
2. In the Local path for storing backup file box, click the folder icon to specify the local folder for
the backup.
3. In the Remote path to backup box, type the path of the remote folder to be backed up.
4. To include subfolders of the target folder, select the Include subfolders check box.
5. Click Next.
6. In the Choose compression type list, click a compression type:
•
No compression
•
ZIP
•
Cab
•
GZip
7. Click Next.
8. Select from the following options.
•
Run now - To start the backup immediately.
•
Schedule - To schedule the backup at a specified time.
9. Click Next.
10. Do one of the following:
•
If you clicked Run, click Finish to start the backup.
•
If you clicked Schedule:
a. In the Start on area, specify the date and time for the synchronization.
b. To repeat the backup after a specified period, select the Enable recurrence
check box, then in the Repeat every box, specify a time and unit (minute, hours,
days, weeks, months, years).
c.
Click Next.
d. Click Finish.
The backup task appears in the Queue Window.
To discontinue a scheduled backup task
•
Right-click the task in the Queue Window, then click Remove Selected.
Monitoring a Local Folder for Changes
CuteFTP allows you to upload any new or modified files or folders added to a specific local folder
automatically. The Folder Monitor wizard guides you through the steps required for activating the folder
monitoring function.
To upload changes to a local folder automatically
1. Connect to the Site that contains the folder to which you want to upload the changed or new files.
2. On the main menu, click Tools > Folder Tools > Monitor Local Folders. The Folder Monitor
Wizard appears.
3. Specify the local path to the folder you want to monitor.
4. In the Upload to the following remote path box, provide the remote path to where you want to
upload the files in the monitored folder.
166