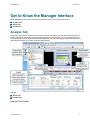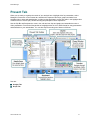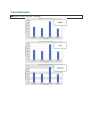
1
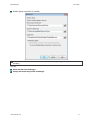
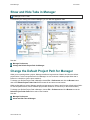
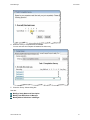
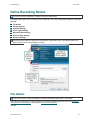
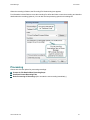
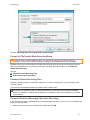
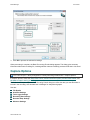
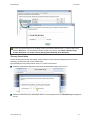
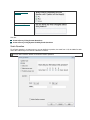
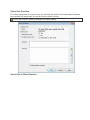
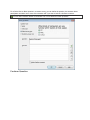
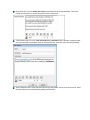
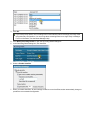
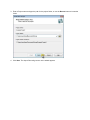
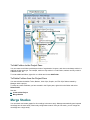
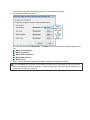
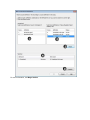
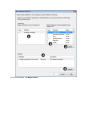
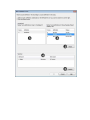
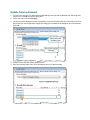
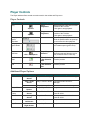
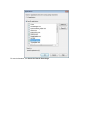
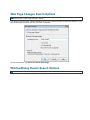
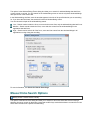
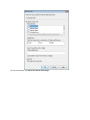
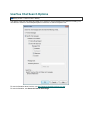
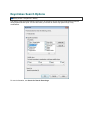
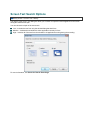
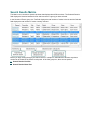
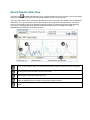
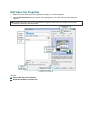
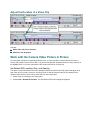
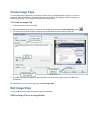
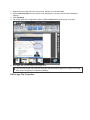
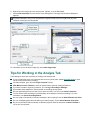
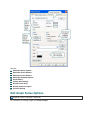
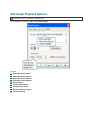
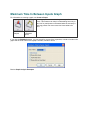
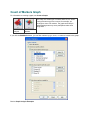
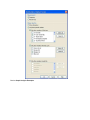
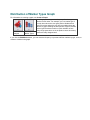
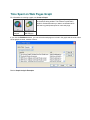
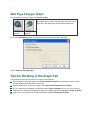
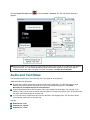
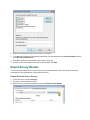
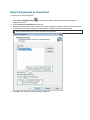
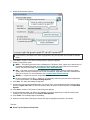
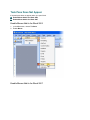
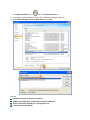
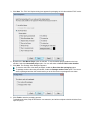
Compression
quality
Configures the codec to compress at a lower image quality and create a
smaller file size, or compress at a higher image quality, resulting in a
larger file size.
Adjust the compression quality using the slider bar. For higher quality,
move the bar to the right. For lower quality, move the bar to the left.
Key frame
every (n)
frames
Specify how often a key frame is recorded. We recommend that you
accept the default value for the codec you have chosen.
The codec will place key frames at regular intervals, either spacing them
by number of seconds or number of frames. Each codec has an
optimized key frame setting.
Data rate
(KB/Sec)
When enabled, this option allows you to determine the number of bytes of
data the codec transmits or receives in one second. The units here are
kilobytes per second. A higher data rate results in better quality and
larger file sizes.
If this option is available for the codec chosen, place a checkmark in the
adjacent box and specify the data rate in Kb/Sec in the box provided.
Video Compression Setup Configure Button
Use the Configure button in the Video Compression Setup dialog box to customize the compression settings
for the screen video codec. For the TechSmith Screen Capture Codec (TSCC), the Configure TSCC dialog
box appears.
This topic describes the TSCC codec. Each codec has unique configuration options. For information on
each of those options, consult the manufacturer’s documentation. For information about the company
providing a particular codec, select the codec from the Compressor dropdown list and then choose the
About button.
The following table describes the Configure TSCC dialog box.
Option
Compression
Control
Description and Use
Choose faster compression (resulting in a larger file size) or better
compression (resulting in a smaller file size). In all cases, the TSCC video
codec is 100% lossless. Typically, you want faster compression during
recording and a smaller file size when producing/editing.
Video Size Options
The options in the Video Size dialog box allow you to set the size of the produced highlight video.
If you chose the Lossless Video option on the Video Encoding Options screen, you must use the Largest
video size option on the Video Size screen to maintain lossless quality. If you change the size of the
video, image quality in the resulting video may be degraded.
The following table describes the Video Size dialog box.
Option
Largest video
size
Description and Use
Creates the highlight video using the size of the largest Clip on the Storyboard.
Selecting this option is recommended because Manager calculates the size
required to include the largest dimensions encountered in the Clips included in
the project.