1
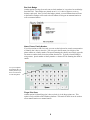
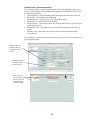
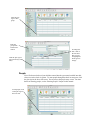
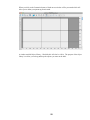
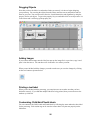
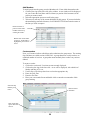
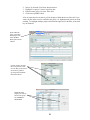
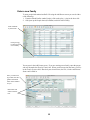
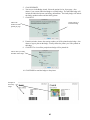
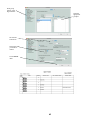
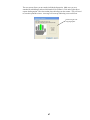
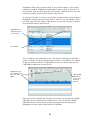
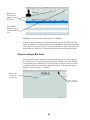
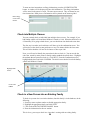
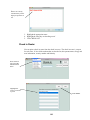
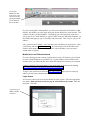
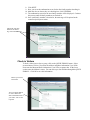
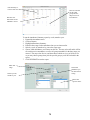
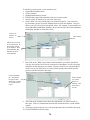
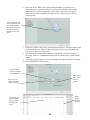
Now you will be at the screen to highlight those that are present to check in.
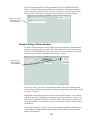
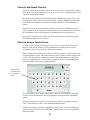
At the confirmation screen you will need to click on OTHER GROUPS button. This
will display all classes that are available for check in. Highlight the class you’d like to
check this visitor into. Click on ALLERGY/NOTES to enter allergy or one time note
information for the name tag. Once you click CONFIRM the labels will be printed.
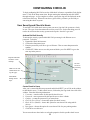
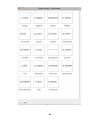
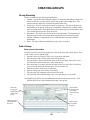
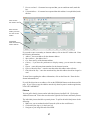
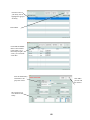
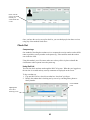
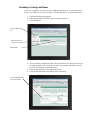
Joe was just entered
through the quick
enroll. Notice there
are no groups for him
to check into yet.
Click OTHER
GROUPS to enroll him
in a class.
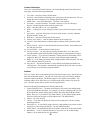
Printing Name Tags and Parent Tags
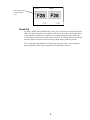
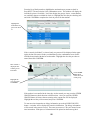
Once a family has checked into their classes, the name tags will be printed at the
computer where you have logged onto Roll Call as the print queue user. You can have as
many of these print queue stations logged in as you’d like.
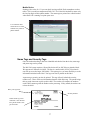
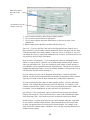
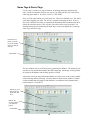
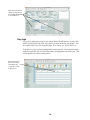
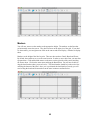
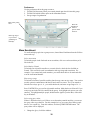
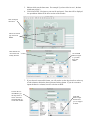
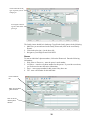
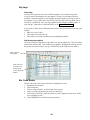
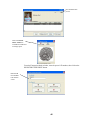
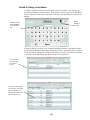
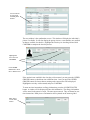
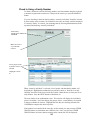
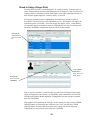
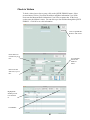
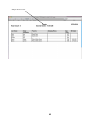
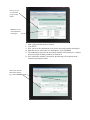
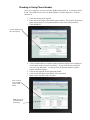
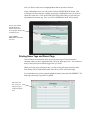
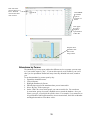
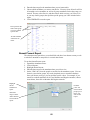
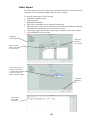
When you log in as the print queue user, you will see the print queue status for today.
Each family will be listed and the status of the labels will be listed on the right.
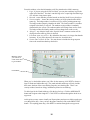
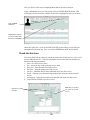
If you should need to reprint, simply highlight the family name and click REPRINT. The
name tags and security tag will be re-printed.
This is the window you’ll see
when you log in
as the print queue
user.