1
SoftLINK 12
Notes:
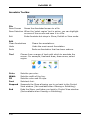
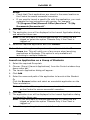
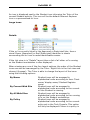
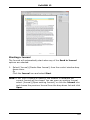
If you do not want the Student’s to see the screen being annotated in
real-time, click Suspend. This freezes the Show enabling the Tutor to
continue working in the background. Click Suspend again to restart
the Show, this refreshes the display at the Student screens.
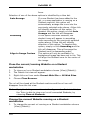
To include a screenshot of the Show in the Student Journal, select
Send to Journal from the Annotate Options menu or use shortcut
keys CTRL+ALT+Print Screen, you can also add notes to accompany
the image.
Annotate a screen while Viewing
While Viewing, the Control can use the Annotate tools to highlight a
particular area of the Client screen. In Share and Watch Mode, the Client
can also use the Annotate toolbar options. The Control can still use the
other View window options while Annotating, Chat, File Transfer etc.
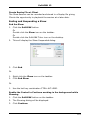
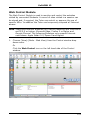
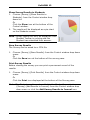
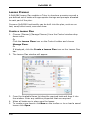
1. View the required Client.
2. Select {Tools}{Annotate} from the View window drop down menu.
Or
Click the Annotate icon on the View window toolbar.
3. The Annotate Toolbar will appear.
Annotate a screen while Exhibiting
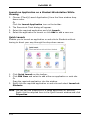
The screen of a Client that is being Exhibited can be Annotated in order to
draw the attention of the other Students to a particular learning point.
Depending on the Mode being used, both the Control and/or the Exhibited
Client can use the Annotate options.
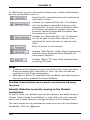
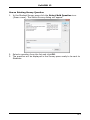
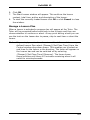
1. Exhibit the required Client screen.
2. Select {Tools}{Annotate} from the Exhibit window drop down menu.
Or
Click the Annotate icon on the Exhibit window toolbar.
3. The Annotate Toolbar will appear.
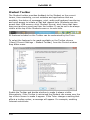
Note:
If you do not want the Student’s to see the screen being
annotated in real-time, click Suspend. This freezes the Show
enabling the Tutor or Exhibited Client to continue working in the
background. Click Resume to restart the Show, this refreshes
the display at the Student screens.
129