1
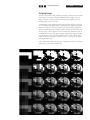
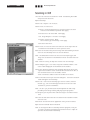
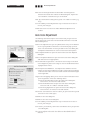
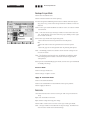
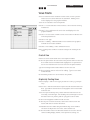
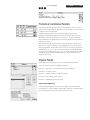
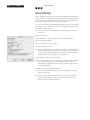
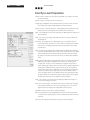
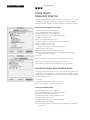
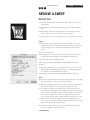
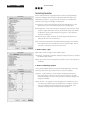
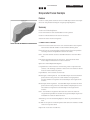
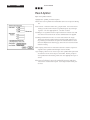
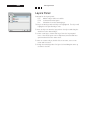
50 08/03 Photoshop Manual Reshape A Layer Mask Choose the Paintbrush tool. Choose a brush and set the tool's opacity. Set the foreground and background colors to black and white by hitting the "D" key. Switch the foreground color to black or white as desired. Click on the Layer mask thumbnail to make it active. It will have a dark line around it. Note: To be sure which layer and layer mask is active look at the Title Bar. It will identify the active elements (Layer, Mask) to the right of the name of the file. Paint in the layer mask with any drawing tool:. Paint with black as the foreground color to hide pixels; OR Paint with white as the foreground color to restore pixels: OR Paint with gray as the foreground color to partially hide pixels. Note: The Multiply and Screen modes can be used to change the affect of the tools. Note: The Gradient tool must be set to Multiply to build the mask with multiple passes and/or it must be set to Foreground to Transparent. When you are finished modifying the mask, click on the layer thumbnail to modify the image. Invert A Mask Click on the layer mask icon. Choose Image > Adjust > Invert. Apply or Discard A Mask Click on the mask thumbnail. Click on the trash buon at the boom of the layers palee. Choose apply or discard. Paste Into The Paste Into function creates a new layer and a Layer mask in one step. Open a file and make a selection. Open another image and copy the image. Choose Edit > Paste Into to create a new Layer and Layer Mask. Note: The layer mask is not linked to the layer's image. Click between the two icons to link the mask and image.