1
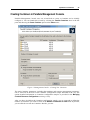
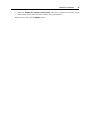
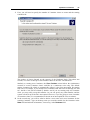
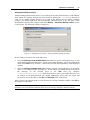
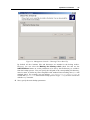
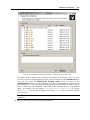
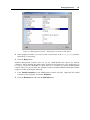
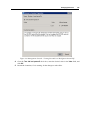
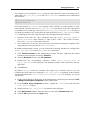
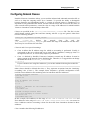
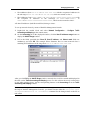
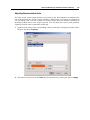
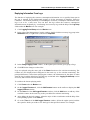
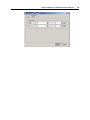
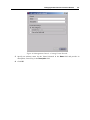
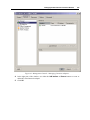
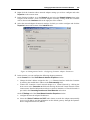
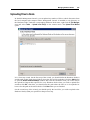
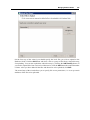
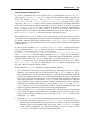
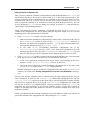
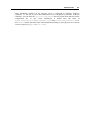
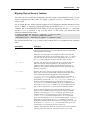
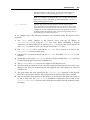
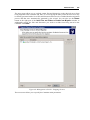
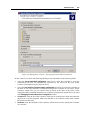
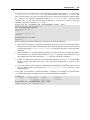
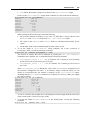
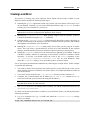
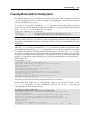
Managing Resources 143 IPv4 addresses from 10.0.0.0 to 10.255.255.255 with the exception of addresses in the sub-range of 10.10.16.0 to 10.10.16.255, which are treated as class 1. IPv6 addresses from 2001:db88:: to 2001:db88::ffff:ffff:ffff:ffff with the exception of addresses in the sub-range of 2001:db88:3333:: to 2001:db88:3333::ffff:ffff:ffff:ffff, which are also treated as class 1. All other IP addresses (both IPv4 and IPv6) belong to class 1. To set up network classes by means of Parallels Management Console: 1 Right-click the needed Node and select Network Configuration > Configure Traffic Accounting and Shaping on the context menu. 2 On the Accounting tab of the displayed window, click the New IP addresses range button to display the Add IP Range window. 3 Fill in the fields provided (the Class ID, Start IP address, and Subnet mask fields are mandatory) and click OK. The example below illustrates how to create network class 2 matching all IP addresses in the range from 10.0.0.0 to 10.255.255.255: After you click OK in the Add IP Range window, network class 2 will be created and displayed in the table on the Traffic Accounting and Shaping screen. To edit or delete the newly created class or any other existing classes, use the corresponding buttons on the Accounting tab in the Traffic Accounting and Shaping window. Note: After editing the /etc/vz/conf/networks_classes file manually (i.e. without the help of Parallels Management Console), you should execute either the /etc/init.d/vz accrestart or service vz accrestart command for the changes made to the file to take effect.