1
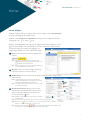
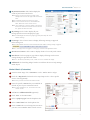
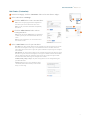
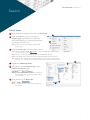
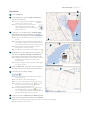
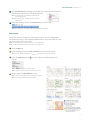
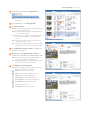
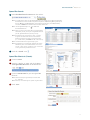
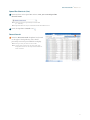
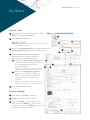
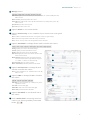
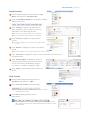
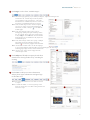
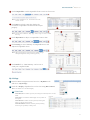
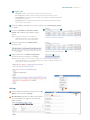
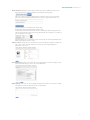
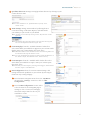
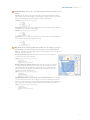
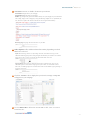
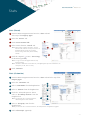
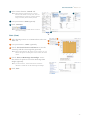
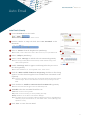
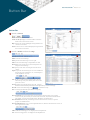
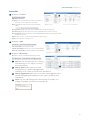
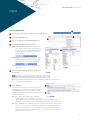
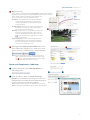
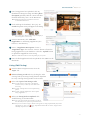
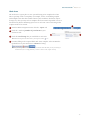
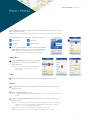
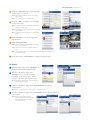
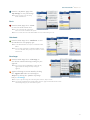
Quick Start Guide Matrix™ 6.7 Auto Email Auto Email (Create) 1 Create a Search and view the results. 3 Note: for more information, see the, “Search” section. 4 2 From the, “Results” or, “Map” tab, click, “Save > New Auto Email” on the Button Bar. 3 Select a, “Contact” from the dropdown list (mandatory). Note: click the, “Create a New Contact” link to add a contact not yet in your address book. 4 Enter a, “Subject” (mandatory). 5 Enter a custom, “Message” to include with each Auto Email (optional). 5 6 7 8 9 Note: if no message is added, Matrix will automatically include a default message, in the email, with the portal link. 10 6 Enable, “Concierge” Mode to approve each listing before they are sent to the client (optional). Note: for more information, see, “Concierge Mode” in the, “Portal” section. 7 Click the, “Make available for Reverse Prospecting” checkbox to allow listing agents to see when their listings have been included in an Auto Email’s results (optional). Note: navigate to, “My Matrix > My Listings”, select the checkbox beside one listing then click the, “Reverse Prospect” button to view information on who has sent your listings in an Auto Email. 8 Click checkbox to, “Enable as a Favorite Search on Home tab” (optional). Note: Favorite Search name will appear as the Auto Email Subject line. 9 “Schedule” when this Auto Email should be sent: ASAP: Emails are sent as soon as possible. Daily: Emails are sent on the days you choose (including AM or PM). Monthly: Emails are sent on the first of the month at midnight. Note: Auto Emails that are not read within a MLS-specified period of time are suspended until reenabled by you (for more information, see, “Auto Emails” under, “Contacts (Manage) in the, ”My Matrix” section). 10 Click, “Save” to create this Auto Email. 27