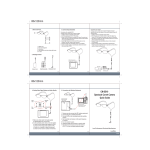
Transcript
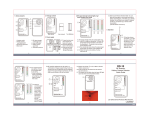
2. Package Content
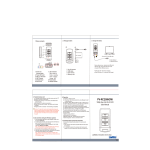
1. Name and Parts
1
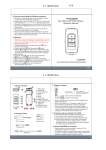
3. Assembly for Smartphone 4/4S
2
1
3
1. With the gold contacts
facing downwards insert
memory card in the slot until
it clicks into place.
1. With the gold contacts
facing downwards insert
memory card in the slot until
it clicks into place.
1.
3
2
4. Assembly for Smartphone 5/5S
5
4
2. Slide in the Smartphone 5
transferring pad all the way
into the main case.
4
7
2. Slide in your Smartphone
4/4S all the way into the case.
6
Lock
1. Power On(Rec)/Off(Stop) Switch
2. Rec indication LED
3. Battery Capacity, Rec Button, Format Button
4. Battery Bar
5. Memory Card Slot
6. USB Port
7. Camera
Adapter
6
5
3. Slide in your Smartphone
5/5S all the way into the
case.
1. Smartphone case
2. Smartphone 4/4S lower case
3. Smartphone 5/5S lower case
4. Smartphone 5/5S transferring pad
5. USB cable
6. Memory card
User's manual
7
7. User's manual
1
2
5. Memory Card Format
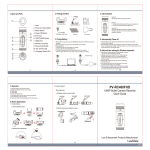
6. Video Recording
1. Slide down the Power On switch to turn on the unit.
2. Press the record button once to start recording, the red
indication LED will turn on
when a video recording is taking place. To stop
recording, simply slide the Power Switch back to upper
position and the red indication LED will turn off.
(Please note it would take about 6 seconds to turn
on the unit then to record a video.)
5
3
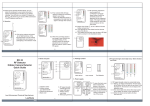
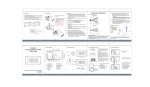
8. Charging the Battery
1. With the unit powered off(slide
switch at upper position), press and
hold Format Button then slide down
Power On switch, wait for few
seconds until you see the red LED
blinks then release the Format
Button.
2. Slide back the switch to upper
position when the red LED turns
off.
3. Assemble Smartphone
4/4S lower case to the main
unit.
3. You can discreetly check
on the recording status by
holding the unit in hand,
with a steady red LED
turned on it means a
recording is taking place
and the other three blue
LED are the battery
capacity.
7. LED Indication
1. Video recording: Red LED steady on
Memory card not inserted or memory full:
Red LED blinking slow
Firmware upgrade: Red LED blinking fast
USB mode: Red LED steady on
2. Blue LED is battery capacity
indication
3 Blue LED on: Full 100%
2 Blue LED on: Medium 65%
1 Blue LED on: Low 35%
( Please note a blue LED will blink when battery is lower
than 5%, the unit will not be functional, charge the battery
immediately. )
6
4. Assemble Smartphone
5/5S lower case to the main
unit.
4
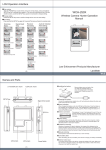
PV-IP45
Smartphone Extended Battery Case DVR
Quick Guide
Connect to PC by USB cable
1. With the unit powered off, connect the supplier USB cable to the
USB port on the base of the device.
2. Connect the other end of the USB cable to a computer or an USB
charger.
3. To check the charging status, press 3 (battery capacity button)
and the three blue indicator will be blinking from left to right.
4. When the battery reaches to a complete charge, three blue LED
will be steady on.
9. Date and Time Setting (for Windows PC)
1. Right-click on Windows desktop. Choose Notepad to create a *.txt
(text) file. Then double-click the text file.
2. Suppose current time is February 25, 2014 13:00 Enter date and time
information as 2014.02.25 13:00:00 Note that a space must be
present in between date and hour and time is in 24-hour format.
3. Name the file as settime.txt and save it to the root directory of the
memory card.
4. Insert the memory card to the slot then power on the device. The date
and time setting is now completed.
5. Please note when the date and time information is successful set to
the device the settime.txt file should not be visible when you connect
the device to the computer again.
LawMate, innovation never stops
®
7
V1.0