1
MAC 2000 Wash Service Manual
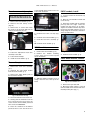
Tilt motors, synchronize
1 Remove the outer arm cover from
the left or right side of the yoke.
2 With the power off, loosen both
motor gear set screws.
inside face of the shaft adaptor. Tighten
a set screw slightly to fix the position.
7 Fasten the motor bracket to the new
motor as shown using 3 new M5 x 16
mm hex head t apt it e screw s, P/N
08091005. (Used taptites are not suited
for cutting new threads.)
3 Apply power and allow the fixture to
reset.
4 From the control panel (MAN >
TILT), move the head the minimum
required to access and tighten one of
the set screws.
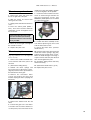
Synchronize the tilt motors with a
front lens installed (for balance)
and with the head as close to vertical as possible.
5 Move the head again and tighten
the second set screw.
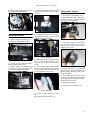
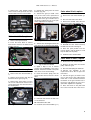
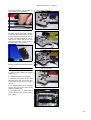
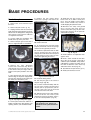
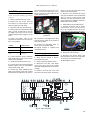
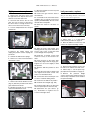
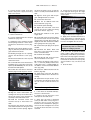
Fig. 94 Tilt motor orientation
8 Position the motor assembly on the
arm without pinching any wires and
start the hex-socket screws.
Replace the yoke cover.
9 Plug in the motor wires. (Connect
the tilt sensor.)
Tilt motors, replace
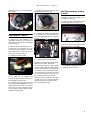
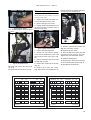
10 Place the belt on the motor gear and
install the tension springs. (Fig. 88)
Tighten the hex-socket motor screws.
Move the head through its tilt range a
couple of times and verify that the belt
does not rub against the yoke.
6
Steps in parenthesis are for the right, tilt
sensor, side only.
1 Remove the outside and inside arm
covers from the side of the yoke to be
serviced.
2
(Remove the timing wheel.)
3 Unhook the motor springs and
loosen the hex-socket motor screws.
(Fig. 83) Push the motor up and remove
the belt from the motor gear.
11 (Install the timing wheel and verify
that it turns freely.)
12 Synchronize the tilt motors. (p. 16)
13 Replace the yoke covers.
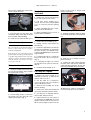
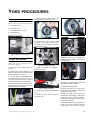
4 Remove the hex-socket motor
screws and remove the motor and
bracket. Unplug the motor. (Unplug the
tilt sensor).
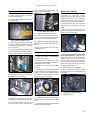
Fig. 93 Remove motor and bracket
5 Remove the bracket from the old
motor.
6 Transfer the gear to the new motor
or install a new one with a distance of
7.5 mm (0.3 in.) face of the motor to the
16