1
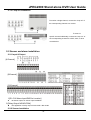
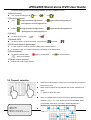
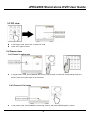
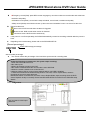
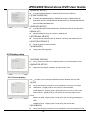
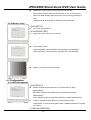
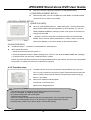
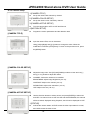
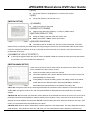
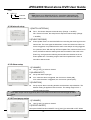
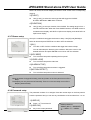
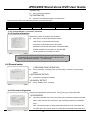
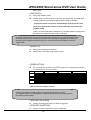
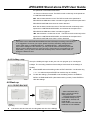
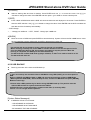
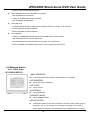
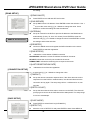
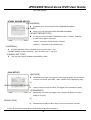
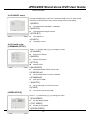
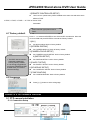
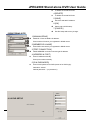
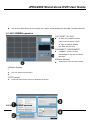
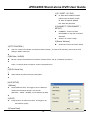
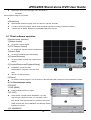
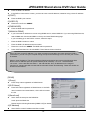
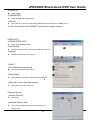
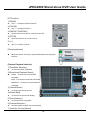
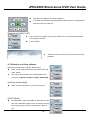
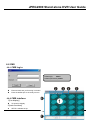
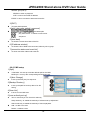
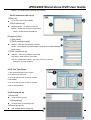
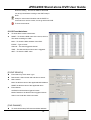
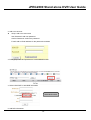
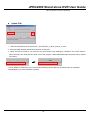
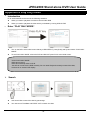
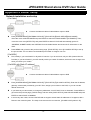
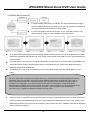
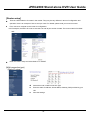
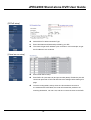
JPEG2000 Stand alone DVR User Guide Enter the DVR’s IP address. If the DVR is connected to a router, you have to enter a real IP address, instead of using a virtue IP address. 4.[PORT] Enter the DVR’s port number. 5.[USER ID] Eenter the user ID as “ADMIN”. 6.[PASSWORD] Enter the DVR Admin’s password. 7.[MANUAL/DDNS] If you have static IP address or are not using DDNS service, select MANUAL. If you are using DDNS service, select DDNS and click the tab DDNS on the top and enter DDNS setup page. ※ If you are setting up a new DVR to connect, follow the steps: 1. Enter the DVR’s location or name. 2. Enter the DVR’s IP address and port number. 3. Eenter the user ID as “ADMIN” and DVR Admin’s password. 4. Press SAVE and then OK. Click CONNECT from Remote Viewer Interface. How to find out my real IP address: if you have computers connected to the router which the DVR is connected to, you can use your computer and go to http://www.whatismyip.com to find out your current IP address. What is virtue IP address: The Internet Assigned Numbers Authority has reserved the following three blocks of the IP address space for private internet (local networks): 10.0.0.0 - 10.255.255.255 172.16.0.0 - 172.31.255.255 192.168.0.0 - 192.168.255.255 Also, IP addresses in the range of 169.254.0.0 -169.254.255.255 are reserved for Automatic Private IP Addressing. These IP's should not be used on the Internet. [DDNS] 1.[Group] Enter Group name registered on DDNS Server. 2.[DVR Name] Enter DVR name registered on DDNS Server. If the DVR name is entered and saved before, click LOAD to browse the list. 3.[Save/Load] Save: Save the setup into the DDNS list Load: Open the DDNS list. Please see the following illustration [DDNS LIST] for details. 4.[IP Address] Show DVR’s current IP address and Port number. - 54 -