1
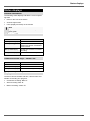
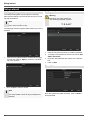
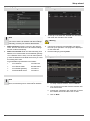
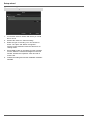
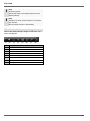
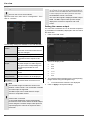
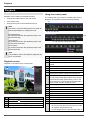
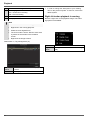
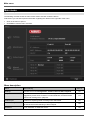
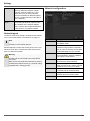
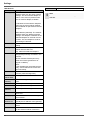
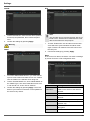
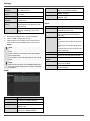
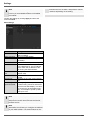
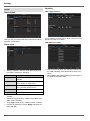
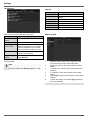
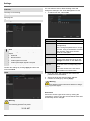
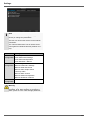
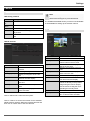
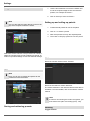
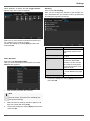
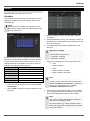
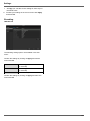
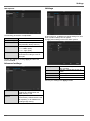
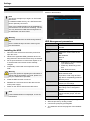
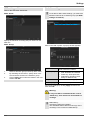
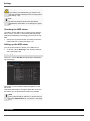
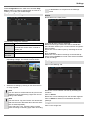
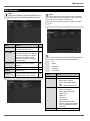
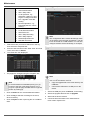
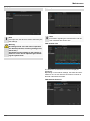
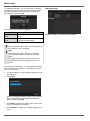
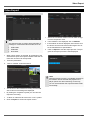
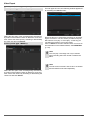
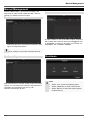
Setup wizard Network Settings HDD Management 1. Note To check whether DHCP can be selected (or if you have to set the IP address and other settings manually), consult your network administrator. To set up a new hard disc, activate the “Check box” with a left click and then click on Init. Warning All data on the drive is deleted! 1. DHCP activated: If DHCP is set up in the network router, then tick the DHCP box. All network settings are then made automatically. 2. Confirm the prompt by pressing OK. The HDD is then set up for operation. The progress is displayed on the status bar. 2. DHCP not activated: Enter the data manually (IPv4 address, IPv4 subnet mask and IPv4default gateway = IPv4 address of the router). You can also optionally enter the address of the DNS server that you need for sending the E-mail. 3. Exit the setting by pressing Next. Setting up network cameras A typical address specification is as follows: IPv4 address: 192.168.0.50 IPv4 Subnet mask: 255.255.255.0 IPv4 Default gateway: 192.168.0.1 Preferred DNS server: 192.168.0.1 Note When the device is accessed remotely via the internet, it should be given a fixed network address. 1. To setup network cameras, click on Search. 2. You can find an overview of all the network cameras found below. 3. Activate the “Checkbox” with a left-click to select the network camera and then click on Add. 4. Click on Next 85