1
Chelsio Driver Installation
To install the Chelsio adapter boards:
1. Shutdown the server.
2. Remove the top from the SR2500 server.
3. Remove the plastic Processor Air Duct.
4. Remove the PCI add-in card riser assembly.
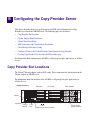
5. Open the latch on the PCIe side of the PCI add-in card riser assembly and remove the plates
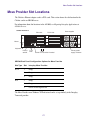
for slots 1 and 2. See “Copy Provider Slot Locations” on page 165.
6. Insert the Chelsio adapter boards in PCIe slots 1 and 2.
7. Close the latch on the PCIe side of the PCI add-in card riser assembly.
8. Replace the PCI add-in card riser assembly. Use care to avoid pinching system cables. Press
down firmly until the three hooks on the rear of the PCI riser assembly engage the chassis
panel slots.
9. Replace the Processor Air Duct. Use care to avoid pinching system cables.
10. Replace the top of the SR2500 server.
11. Restart the server and continue with “Chelsio Driver Installation” on page 168.
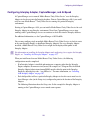
Chelsio Driver Installation
After installing the Avid Chelsio 10 Gb adapter boards, you need to install the Chelsio drivers.
The drivers are located on the ISIS Installer DVD.
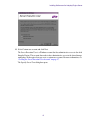
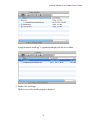
After the SR2500 system has restarted, the system displays the Found Hardware Wizard.
To install the Chelsio driver:
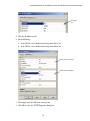
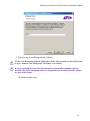
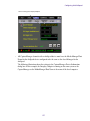
1. In the Found Hardware wizard for the “Ethernet Controller” dialog box, click Cancel and
close the Hardware wizard.
2. A second Found Hardware Wizard will appear for the second adapter board. Click Cancel
and close that Hardware Wizard also.
3. Insert the ISIS Installer DVD into the DVD drive.
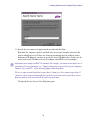
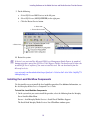
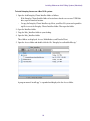
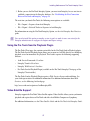
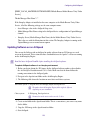
4. Navigate to the [DVD drive]:\Tools_3rdParty\Drivers_andFirmware\Chelsio folder, and
double click the following to launch the Chelsio driver installer.
AvidChelsioDriversx86.exe (for 32 bit systems)
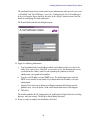
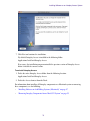
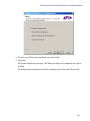
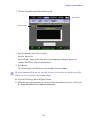
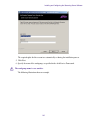
5. Follow the on-screen prompts and restart the SR2500 when finished.
n
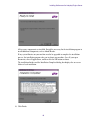
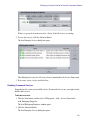
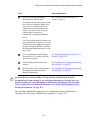
You will receive several messages stating that you are installing an unsigned driver. Each time
the dialog box appears, click “Continue Anyways”.
168