1
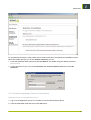
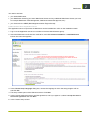
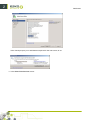
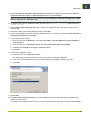
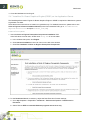
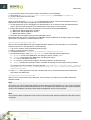
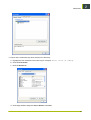
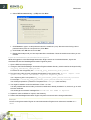
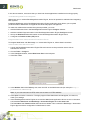
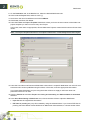
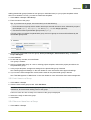
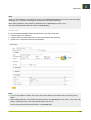
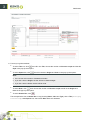
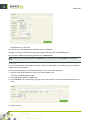
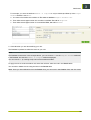
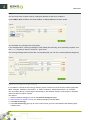
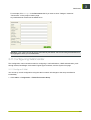
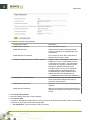
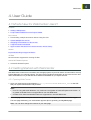
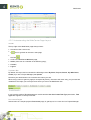
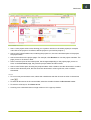
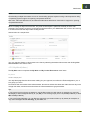
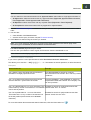
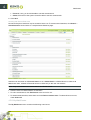
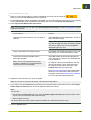
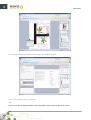
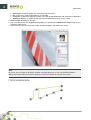
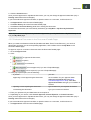
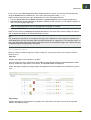
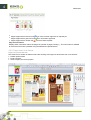
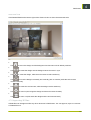
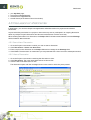
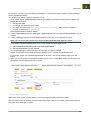
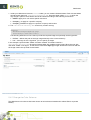
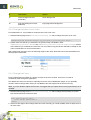
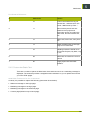
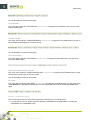
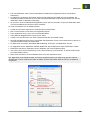
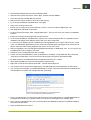
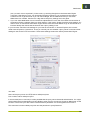
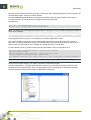
2
WebCenter
In this documentation, we assume that you have both these applications installed and running properly.
Understanding WebCenter Integration
WebCenter can run without BackStage/Automation Engine, but its full potential is realized when integrating
both systems.
Integrating WebCenter with a BackStage/Automation Engine production server allows you to upload
production files to WebCenter for approval and advanced project management.
To make this collaboration between the systems possible, you must:
• Add the WebCenter Site in the BackStage/Automation Engine Configure window.
• Add the Job Web Page information in the BackStage/Automation Engine Configure window.
• Set up the WebCenter View information for the BackStage/Automation Engine users.
• Configure the Publish to Web (JDF) ticket.
Integrate WebCenter with a Workflow Production Server
To integrate WebCenter with BackStage 7.x / Automation Engine 10, follow these instructions.
Add the WebCenter Site Information
1. Launch the BackStage/Automation Engine Pilot and connect to the production server with an
administrator account.
2. Choose Tools > Configure.
3. In the Configure window, select WebCenter Sites in the left pane.
4. Click File > New.
5. In the Website field of the Delivery area, enter the URL of the WebCenter site (for example: http://
pacwebserver/WebCenter).
Note: If your site uses secure HTTP, make sure to enter an HTTPS address.
6. Click Open to test the connection. The login page for Esko WebCenter should appear; if it does not,
check your settings.
7. If the BackStage/Automation Engine server and the WebCenter Application Server are not on the same
LAN, deselect WebCenter and BackStage / Automation Engine are in the same LAN.
The User Name and Password fields then become available. This is where the BackStage / Automation
Engine Approval Client configuration in WebCenter is used.
52