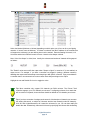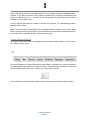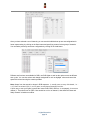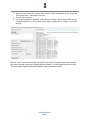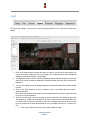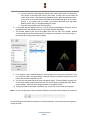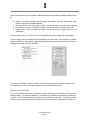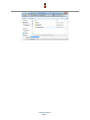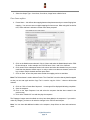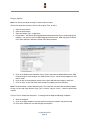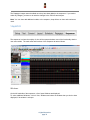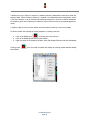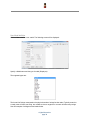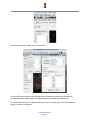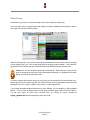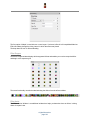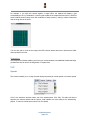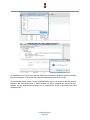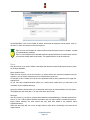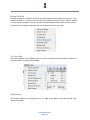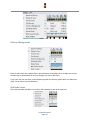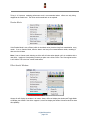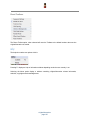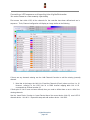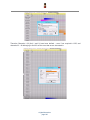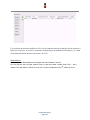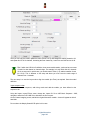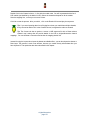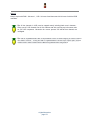
1
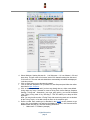
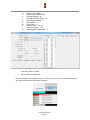
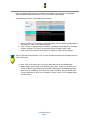
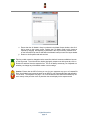
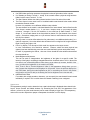
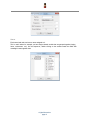
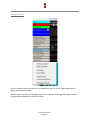
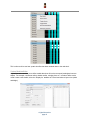
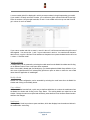
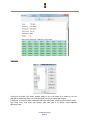
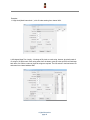
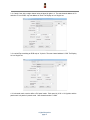
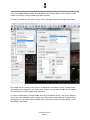
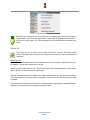
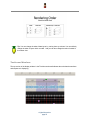
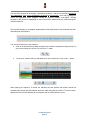
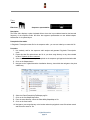
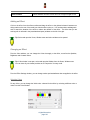
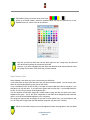
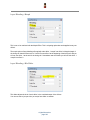
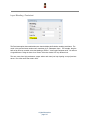
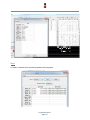
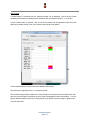
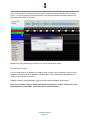
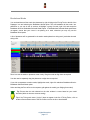
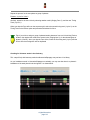
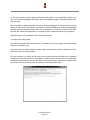
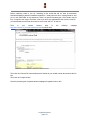
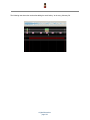
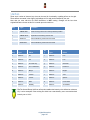
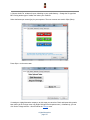
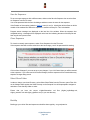
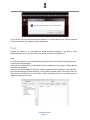
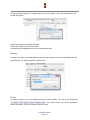
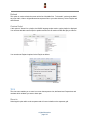
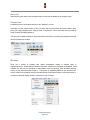
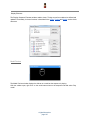
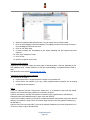
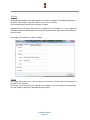
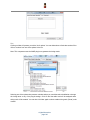
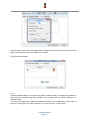
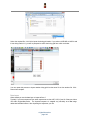
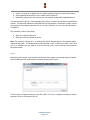
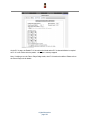
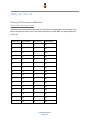
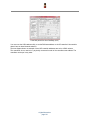
3. Select the Output Type – Auto faces, Coro faces, Image faces or Movie faces. Coro faces option 4. Preset Name – this defines the mapping between the phonemes and your custom Singing face mapping. You can save one or multiple mappings for future reuse. When using this for the first time, Select ‘add new’ and enter a Preset name when prompted. 5. Click on the Model name under each ‘Voice’ Column and select the Model Name that the .PGO file should map to. In this example, the .PGO file has a Voice 1 and Voice 2 defined. 6. Click on each of the subsequent entries in the column and select the channels from your custom model that the phoneme should map to. In order to select more than one channel, use the Ctrl key to select multiple channels and then press Enter. 7. Click on ‘Save’ to save the preset name so that the mapping can be reused later. Note: The Delete button is used to delete a Preset. The ‘Clear Grid’ is used to clear any details mapped so that you can start again and the ‘Copy First’ is used to copy the ‘Voice 1’ column to all the other columns. 8. Click on ‘Click to Create New Sequence’. A message will be displayed indicating completion. 9. Save the sequence. 10. Click on the Open Sequence icon and select the sequence that has been created in the previous step. 11. Click on the ‘Render All’ icon and then play the sequence. The Papagayo images cannot be edited once they have been added to the sequencer. If you need to make any changes, you have to do make the changes in the .PGO file and reimport. Note: You can then add additional models to the sequence, drop effects on them and continue as usual. xLights/Nutcracker page 33