1
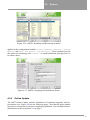
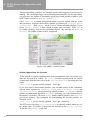
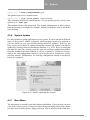
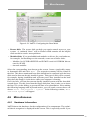
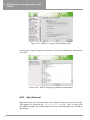
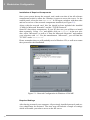
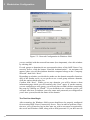
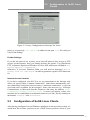
9.3
The SuSE Rescue System
Accessing Your Normal System
To mount your SuSE Linux system using the rescue system, use the mountpoint
/mnt. You can also use or create another directory.
As an example, assume your normal system is put together according to the
/etc/fstab shown in the example File 9.3.1.
/dev/sdb5
/dev/sdb3
/dev/sdb6
swap
/
/usr
swap
ext2
ext2
defaults
defaults
defaults
0
1
1
0
1
2
File 9.3.1: Example /etc/fstab
Caution
Pay attention to the order of steps outlined in the following section for mounting the various devices.
To access your entire system, mount it step-by-step in the /mnt directory using
the following commands:
earth:/ # mount /dev/sdb3 /mnt
earth:/ # mount /dev/sdb6 /mnt/usr
Now you can access your entire system and, for example, correct mistakes in
configuration files such as /etc/fstab, /etc/passwd, and /etc/inittab.
The configuration files are now located in the /mnt/etc directory instead of in
/etc.
To recover even completely lost partitions with the fdisk program by simply setting it up again, determine where on the hard disk the partitions were previously
located and make a hardcopy printout of the /etc/fstab directory as well as
the output of the command
earth: # fdisk -l /dev/<disk>
Instead of the <disk> variable, insert, in order, the device names of your hard
disks, i.e., hda.
Repairing File Systems
Damaged file systems are tricky problems for the rescue system. This could happen after an unscheduled shutdown caused by power failure or a system crash.
Generally, file systems cannot be repaired on a running system. If you encounter
really severe problems, you may not even be able to mount your root file system
and have the system boot end in a "kernel panic". Here, the only chance is
to repair the system from the “outside” using a rescue system.
The SuSE Linux rescue system contains the utilities e2fsck and dumpe2fs (for
diagnosis). These should remedy most problems. In an emergency, man pages
often are not available. That is why we have included them in this manual in
Appendix 9.3.1 on page 123.
121