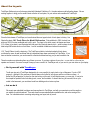
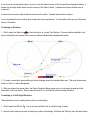
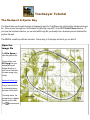
1
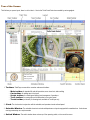
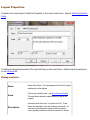
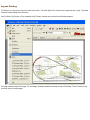
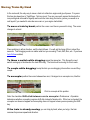
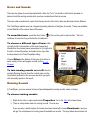
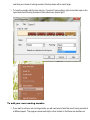
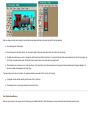
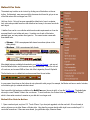
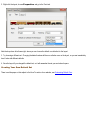
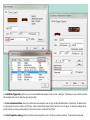
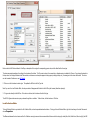
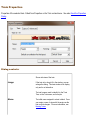
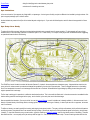
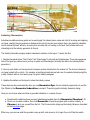
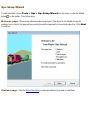
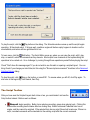
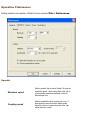
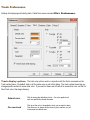
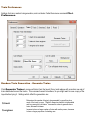
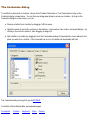
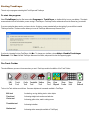
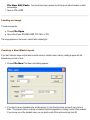
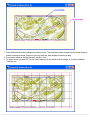
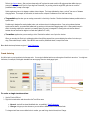
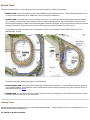
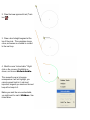
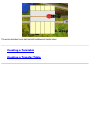
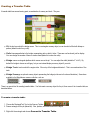
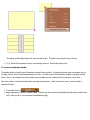
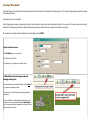
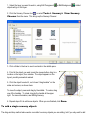
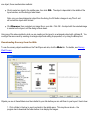
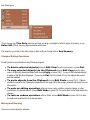
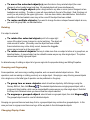
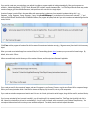
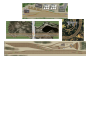
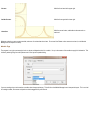
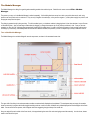
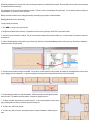
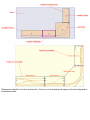
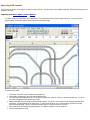
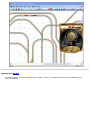
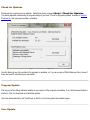
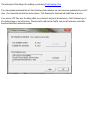
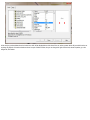
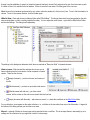
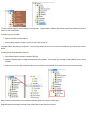
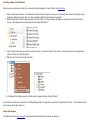
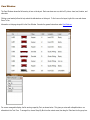
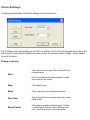
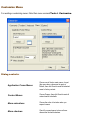
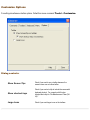
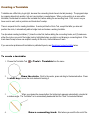
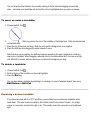
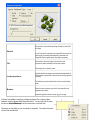
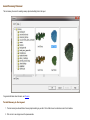
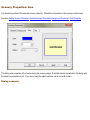
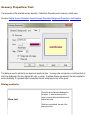
in the web scenery collections. To add one of these to your layout:
1. Bring up the Scenery Chooser using Tools > Scenery > View Scenery Chooser or the button on the scenery toolbar.
2. Click to open the new animations folder. (If you don't see it, try right-clicking the Scenery folder and choosing Refresh.)
3. Press an image and drag onto the layout. That's it -- it starts playing immediately. (To stop, use the Scenery Edit tool, right-click and choose
Stop Animation.)
Confession: most of the animations in our sample set came from the Microsoft Office Online clip-art collection. There do not appear to be
restrictions on distributing these, unless we missed some fine print.
Using Load Bitmap
The alternative to loading an image from the chooser is to create the scenery object first and then attach the image. The procedure is the same
as when adding a non-animated image, as follows:
1. Select the Rectangle tool on the scenery toolbar, and drag to create a rectangle where you want the animated image. By default this gets a
beige background.
2. Select the Scenery Edit tool (green arrow), right-click the new rectangle and choose Load Bitmap. You get a standard file dialog.
This is the same dialog you use for static background images. It is still used for that, but now supports three more types of input:
a. Browse to an anm file -- the program will create an animated image.
b. Browse to a gif file -- the program will examine it and decide whether to create an animated or static image.
c. Browse to the first of a series of images -- the program will create an animation and anm file automatically. This process is
described in detail below.
Once you successfully load an animated image, you get an alert confirming the import and reporting the number of frames.
An animated image created using Load Bitmap does not automatically start playing upon creation. To start it, use the Scenery Edit tool, right-