1
2
INSTALLATION & ACTIVATION
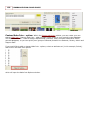
output; Help file; Instructional videos; Updates and upgrades.
Notes for IT Administrators: Firewall Configuration: FotoFusion communicates with *.lumapix.com, *.
amazonaws.com and *.fotoscraps.com
• Port 80: For Marketplace Content • Port 21: For FTP upload to Publishers • Port 443: For Remote
Storage • Binary transfer should be enabled
• Soap headers should not be filtered
Complete read/write permissions should be allowed to the following: • Windows Vista, 7,8: ‘C:/
ProgramData/LumaPix’ • Windows XP: ‘C:/Documents and Settings/All Users/Application Data/LumaPix’
Requires Microsoft .NET Framework 2.0.
Network Administrators not using Remote Storage: FotoFusion does not embed images in a project. As
such, for collaborative working we advise storing project files and all related images in a shared network
location. The following is an example setup which can be used for schools or adapted for studios running
FotoFusion::Extreme.
• Create an area on your network to store candid images, imported PSPA photos and project files. •
Create an Active Directory group, for example Yearbook Users, which have read/write access to this
folder. • Map this folder to a standard network drive, Y:/Yearbook. • Using a batch script, or otherwise,
set this drive to be mapped at logon for Yearbook Users. • Advise your Yearbook committee that all
project files, images and imported PSPA photos should be saved to this folder
Installing FotoFusion:
FotoFusion Enhanced and Extreme users can install the software from
the LumaPix website (both Mac & PC from the same link). Yearbook customers will receive a special link
from their yearbook company to download the installer. Click on the installation file after it has
downloaded to start the installer, and follow the instructions.
Activating FotoFusion:
Activating your software will take the software out of trial mode. A
user id (activation code) is provided to Enhanced & Extreme users after purchase; Yearbook users will
receive a code from their publishers by email. Activation removes watermarks, gives you access to
graphic resources associated with your license type, and allows users to share projects. In the case of
YearbookFusion users, projects can now be saved and transferred from one machine to another. To
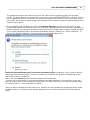
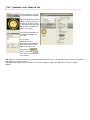
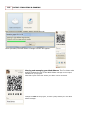
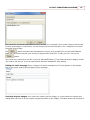
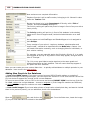
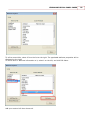
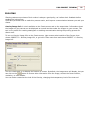
activate FotoFusion, Select HELP -> Activate FotoFusion -> Activate Online Enter your UserID and create
a password. FotoFusion will now restart to complete the activation.
Enhanced and Extreme licenses, as per the End User Agreement, are sold as "one user, one
license," meaning the owner of the license can activate the software on a computer intended for their
personal use. eg. a laptop and a desktop. Licenses do not expire, and can be reinstalled for maintenance
or new computers as required.
YearbookFusion licenses can be installed on up to 40 computers simultaneously. YearbookFusion
licenses are 1-year expiring licenses, with the expiration countdown started when the license was
allocated by your yearbook publishing company.
GETTING STARTED
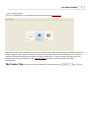
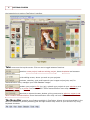
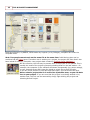
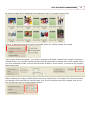
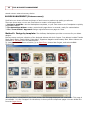
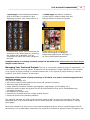
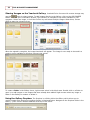
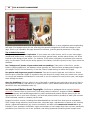
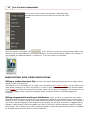
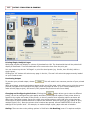
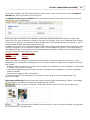
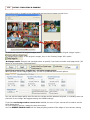
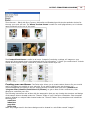
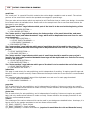
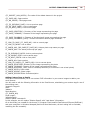
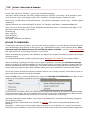
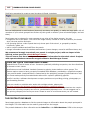
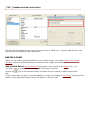
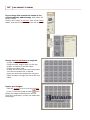
The Start tab is a portal to starting new projects, accessing saved work, information about FotoFusion,
and accessing templates.
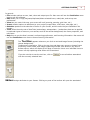
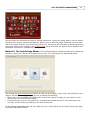
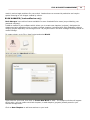
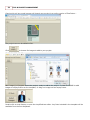
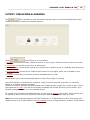
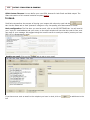
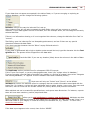
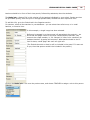
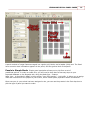
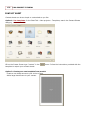
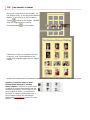
NEW PROJECT: Choose New to start a fresh project from scratch. Depending on your license type, the
list of options will change.
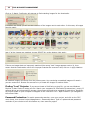
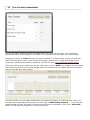
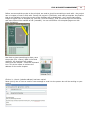
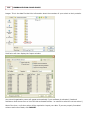
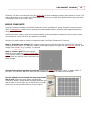
· Click on Blank to select a page size for a new empty project
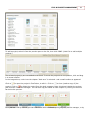
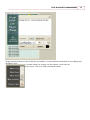
· Click on AutoCollage to open the AutoCollage wizard, which will allow to you make automatic layouts of