1
Introduction
MXF Workflow Overview
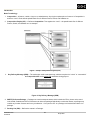
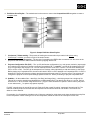
1. Mastering Process:
Recording -> Encoding -> Packaging -> Exporting
If real-time encoder is used, Recording and Encoding can be done in a single step.
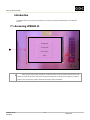
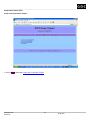
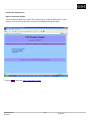
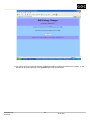
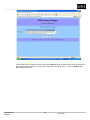
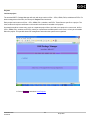
2. Packaging is done using the optional web-based DSR™ Package Manager software installed on the encoder. You can
access the software using the browser on your PC. The PC has to be on the same network as the encoder. Specify the
IP of the encoder on the browser and the software should appear. Make sure the encoder is already powered on.
3. Packaging Process (Basic steps required to prepare a MXF package for a server):
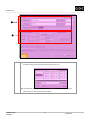
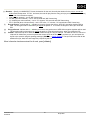
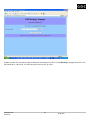
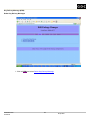
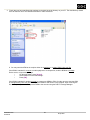
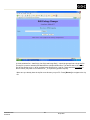
Step 1: Load project. Create a new project if you are working on a new movie.
When a new project is created, you will have access to all the video, audio sequences and certificates on the encoder.
But you will have no access to the CPLs, KDMs, PKLs, subtitles, and PCFs imported to the encoder for other projects.
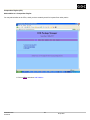
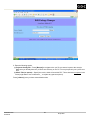
Step 2: Create a Composition Playlist (CPL) for the Composition you want to create.
Make sure the Picture and Audio files are ready on the encoder. If Subtitles and (Projector Configuration File (PCF) are
needed, import them to the encoder using the DSR™ Package Manager. The CPL should be created with reels referring
to the sequences on the encoder. By sequences, we refer to the encoded picture (video) sequences and their associated
sound (audio) sequences.
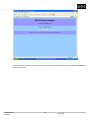
Step 3: If the content is to be encrypted (you can specify whether you want to encrypt the picture or sound for each
reel when you are creating the CPL), then create a KDM for the CPL you created.
The recipient server certificates (*.pem files), which are unique for each server, are needed to create the KDMs. These
certificates contain the public key to create a KDM for a particular server. The server manufacturers should provide the
certificates. For example, GDC can provide certificates for our servers.
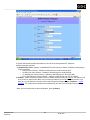
Step 4: Create a Packing List (PKL) to put all assets (CPLs, picture reels, sound reels, KDMs, Subtitles and PCFs)
into a package.
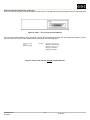
Step 5: Export/Transfer the package to an external FireWire disk.
•
•
•
Format the disk with ext2/ext3 file-system.
Connect the disk to the encoder.
Mount the disk to a directory on the encoder.
•
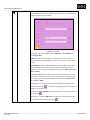
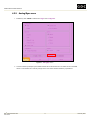
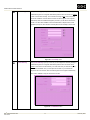
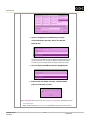
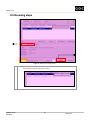
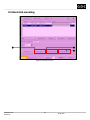
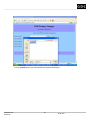
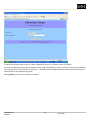
From the main menu, press [Advance options] -> press [Remote] tab -> press [Mount External
Disk].
•
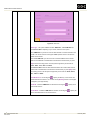
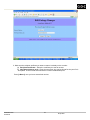
Select Mount Type = ‟Local FireWire Disk‟.
•
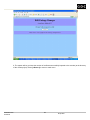
Specify the Local Mount Point. The directory should exist on the encoder
e.g. /mnt/fw/
•
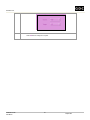
Press [OK].
JPEG2000 Encoder
112
29 April 2008
User Manual