1
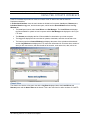
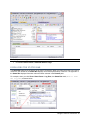
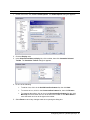
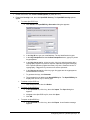
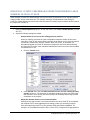
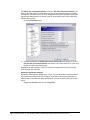
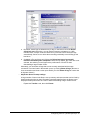
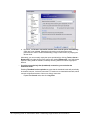
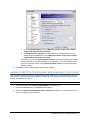
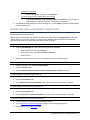
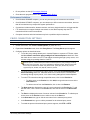
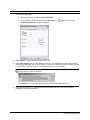
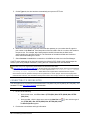
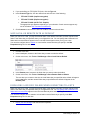
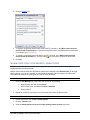
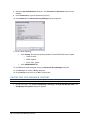
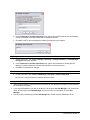
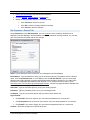
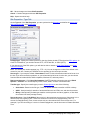
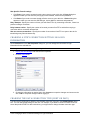
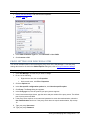
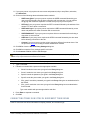
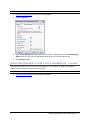
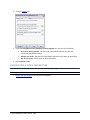
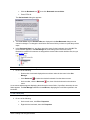
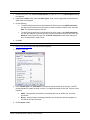
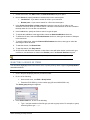
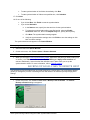
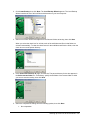
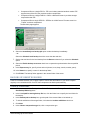
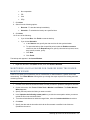
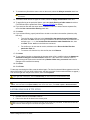
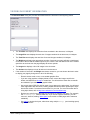
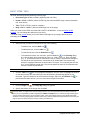
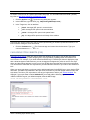
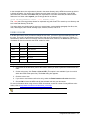
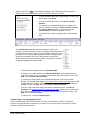
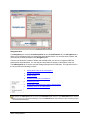
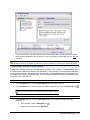
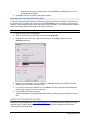
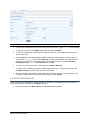
The CuteFTP Connection Wizard appears.
3. In the Host Address field, type the IP address or FTP domain address that your ISP gave you to
log in to the FTP site.
4. The address that you typed in the Host Address field appears in the Site Name field. You can
leave it as is, or type a descriptive name for this site. The site name will appear on the Site
Manager tab.
5. Click Next. The login page appears
6. In the User Name box, type the user name your ISP gave you to log in to the FTP site.
7. In the Password box, type the password your ISP gave you to log in to the FTP site.
8. Specify a login method from the following options.
•
Normal - The user name and password are mandatory to connect to a site.
•
Anonymous - The site does not require any user name and password.
•
Double - The user name and password are required twice to connect to a site.
9. Click Next. The Connecting to Site message appears.
•
If you need to change the host address or do not want to log in, click Cancel.
•
If the connection fails, an error message appears. Click Yes to close the message, then
click Back to verify/correct the host address, username, and password. (If the connection
fails again, refer to Troubleshooting.)
10. After you are connected to the FTP site, the default folders page appears.
11. In the Default Local Folder field, click the folder icon to browse for the default folder from
which you want to upload/download files to/from the server.
12. In the Default Remote Folder field, type the path of the remote folder from/to which you want to
upload files.
13. Click Next. The Connection Completed page appears.
14. Click Finish. Cute FTP connects to the site and saves the site in the Site Manager.
For subsequent connections to this FTP site, refer to Connecting to a Site.
Connecting to Sites ● 79