1
Getting Support
•
•
•
•
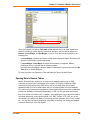
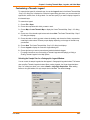
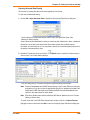
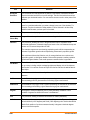
Use the Index feature to find a topic quickly. Type the first few letters of the word you are looking
for. The index entry that most closely matches your entry is highlighted. Click the index entry you
want to display.
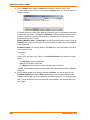
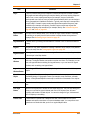
Use the Favorites tab to collect and store topics you want to refer to frequently.
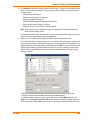
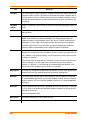
Context-Sensitive Feature: Press the F1 key to receive more information on any menu command
or dialog box. The Help window for that item displays. Also click the Help button in the MapInfo
Professional dialogs to display information on the current dialog box.
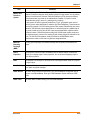
Quick Access to the publications web site: Click the underlined Pitney Bowes Business Insight
Corporation name at the bottom of each topic page to go to the Pitney Bowes Business Insight
web site. From here you have access to product information, upcoming events, tech tips, and a
complete set of documentation.
Getting Technical Support
Pitney Bowes Business Insight Corporation offers a free support period on all new software
purchases and upgrades, so you can be productive from the start. Once the free period ends, Pitney
Bowes Business Insight Corporation offers a broad selection of extended support services for
individual, business, and corporate users.
Technical Support is here to help you, and your call is important. This section lists the information
you need to provide when you call your local support center. It also explains some of the technical
support procedures so that you will know what to expect about the handling and resolution of your
particular issue.
Please remember to include your serial number, partner number or contract number when
contacting Technical Support.
Technical Support Offerings
To use Technical Support, you must register your product. This can be done very easily during
installation or anytime during normal business hours by contacting Customer Service directly at 1800-552-2511 Option 3.
Full technical support for MapInfo Professional is provided for the currently shipping version plus the
two previous versions.
Extended support options are available at each of our technical support centers in the Americas,
Europe/Middle East/Africa, and Asia-Pacific regions. See below for how to contact the office nearest
you.
For technical support contact information for your geography, see the Getting Technical Support
topic in the Help System.
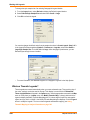
Tell Us What You Think!
Want to give MapInfo Professional Engineers feedback? We have an option in the Help menu
for you to provide direct product feedback to Pitney Bowes Business Insight. If you have a need for a
new feature, or you need our product to do something it doesn’t currently do, use this feature to write
to us. Whether you want to complain or complement, let us know so we can meet your MapInfo
Professional needs better.
20
MapInfo Professional 10